Triple VESA Monitor Stand (05/2017)
I was looking for a way to increase immersion whilst playing driving games, and after some research on the subject I saw two ways forward:
- Virtual Reality (HTC Vive / Oculus Rift)
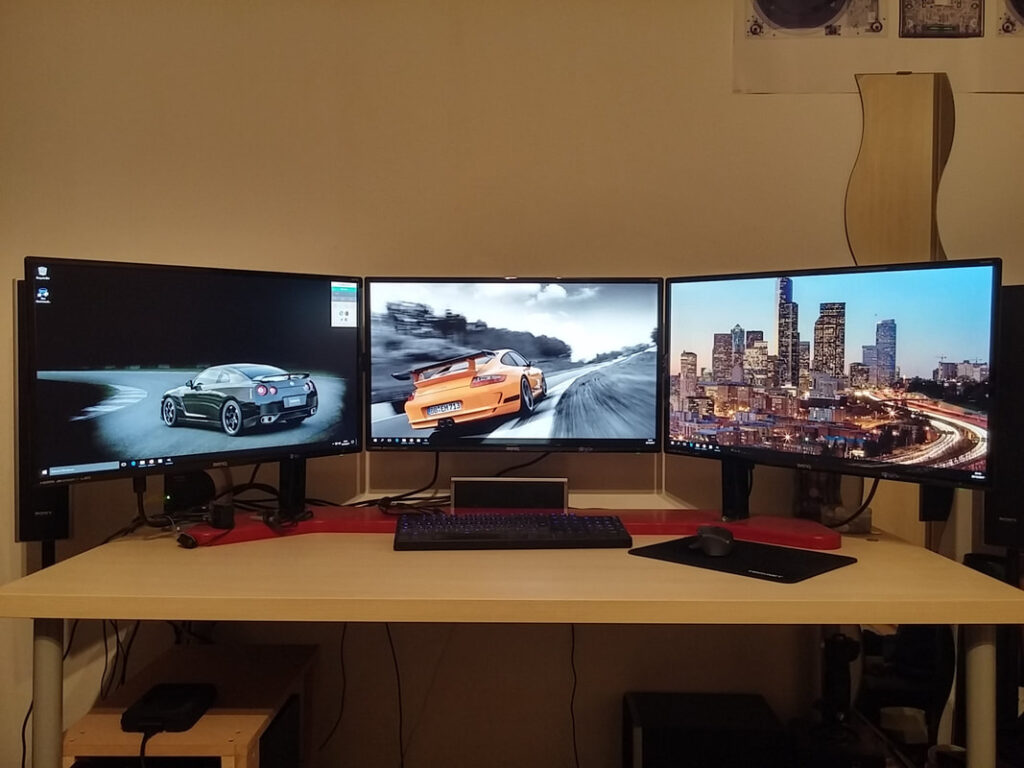
- Triple screen setup
I have never tried racing in VR, but I had the opportunity to mess around with an Oculus Rift DK1 a while ago, so I can take an educated guess that it would be seriously good (future edit: I ended up buying an Oculus Quest 2 VR headset and it is mind-blowingly good for sim racing, if you can get past the motion sickness that is). The main problem for me was the overall cost of a VR setup- not only would I need the VR headset itself but I would also need to buy a new graphics card. I was looking at £750 – £1k+ (depending on headset and graphics card) for a setup that would only be used for gaming- that was way too much!
- 2x [D022A] Obtuse Angle 45 Degree 2×2 Hole
- 2x [D055] Flat Gusset/Delta Plate
- 2x [CS21-1] 21mm Slotted Channel – 1 Meter
- 2x [CLA300ZS] 300mm – Slotted Cantilever Arm BZP

I decided to paint my monitor stand. This added considerable time and cost to the project, but would be worth it in my opinion. The slotted channel was cut to size and the edges were filed smooth. All weld spatter and bumps from hot-dip galvanization (HDG) were also filed. The parts were given a wet sand with 240 grit wet and dry paper and then cleaned with methylated spirits. Once cleaned, I was careful not to handle the parts with my bare hands as I didn’t want to get any oils or grease from my skin on the metal surface that may affect the adhesion of the paint.
I used a combination of Halfords and Rustoleum spray paints for this project. I emailed Rustoleum for advice; they responded advising to leave a minimum of 24 hours between colour and clear to avoid wrinkling. They added that there was no need to key the paint surface before applying the clear coat. They advised against oven curing but said that some heat (sunlight), may speed up the drying process, and that good airflow was key to helping the solvents evaporate.
A makeshift spray booth was made by hanging the parts up in my power rack and covering the sides in newspaper. This worked well to contain the overspray; I didn’t get liquid paint on anything else. The overspray did have a tendancy to dry quickly in the air and either hit the ground as a powder or stay suspended in the air. My garage was well ventilated and my dust mask filters (FFP2) changed colour rather quickly, visibly trapping the spray paint particles. I wonder if FFP3 filters would have been a better choice here.
IF YOU ARE GOING TO TRY THIS, BE WARNED: THIS PROCESS GENERATED LOTS OF PAINT DUST! YOU NEED TO USE DUST SHEETS OVER A LARGER AREA THAN YOU MIGHT THINK!


Etch primer is required to promote the adhesion of paint to galvanised surfaces. Three coats of etch primer were left overnight to go off and then flattened with 400 grit wet and dry paper.
The parts were all then sprayed gloss black. I gave all parts three coats, waiting 20 minutes between each coat and had a desktop fan pointed at the parts overnight to help with airflow.


Application of the clear coat was exactly as with the colour; three coats 20 minutes apart with the fan on thereafter to help with airflow. The clear coat made a difference, although the finish was more sheeny orange peel than mirror black… The parts were left for 5 days for the clear coat to cure, and were left in the sun for a few hours a day.
After the clear coat had been left to cure, the parts were all given a once over with some clay bar to remove any overspray. All parts were then given a couple of coats of Autoglym Super Resin Polish. This glaze helped to boost the shine and also add some protection as it contains wax.


The stand was bolted together using stainless bolts and penny washers from the front, with 40mm square washers and half nuts from behind. Self adhesive closed cell foam strips were applied to the square washers to allow some adjustability before tightening all the way, and Loctite 248 non-drip threadlocker was used on all bolts.
Time to make the base. My local sheet timber supplier doesn’t stock 25mm MDF, so I glued two 12mm pieces together. I cut the shape I wanted out of the first piece and glued it to the second. 100kg of barbell weights seemed to do a great job of clamping the boards together while the glue set!


After the glue had set, the base was finished using a router. The excess material was roughly cut away from the bottom piece, and a flush trim bit was used, the first piece acting as a guide. A 1/4″ round over was then put around the entire top edge.
Mortises were routed into the base to allow the mounting plates of the cantilever arms to sit flush. Counterbores were routed in the bottom to recess the penny washers and half nuts.


Some VESA mounts were designed and CNC milled. These and the base were given a good sanding, a vacuum and then a wipe down with methylated spirits. Three coats of Wilko MDF sealer were applied and left to dry before flattening with some 400 grit wet & dry paper.
After masking off the countersinks and washers, the woodwork was painted in exactly the same way as the Unistrut; 3 coats of colour followed by 3 coats of clear.


After a few days waiting for the clear to cure, the masking tape was removed and the overspray was removed with clay bar.


This was an interesting project; I learned quite a lot from this one. The finished stand is really stable and it is as solid as a rock. I now have more desktop realestate than I know what to do with, and more desk space than when I had two screens. There is a small gap between the monitors that is kind of annoying, but could probably be adjusted out with a bit of realignment after loosening the bolts. I might do it one day, but it’s not annoyed me enough to do it yet. If I were to do this project again, there are a few things I would do differently:
- Instead of painting the metalwork myself, I would either get the parts powder coated, get stainless parts and polish them or maybe a combination of the two.
- Instead of using an etch primer, I would strip the galvanic coating with something like citric acid (I learned about this after I had completed the project).
- I would have to put more effort into the preparation of the MDF parts, as the edges were nowhere near as smooth as the faces, even after several coats of sealer. In hindsight I should have sanded the edges and reapplied sealer if necessary before moving onto paint, or possibly used a primer after the sealer and before the paint.
OK, that’s great, but what is it like in-game? Ideally I would like to be ~0.8m from the centre screen to get the full effect which is not possible with my desk and wheel, but even from ~1.3m the effect is totally wicked, way more immersive. Well worth the effort; no regrets.