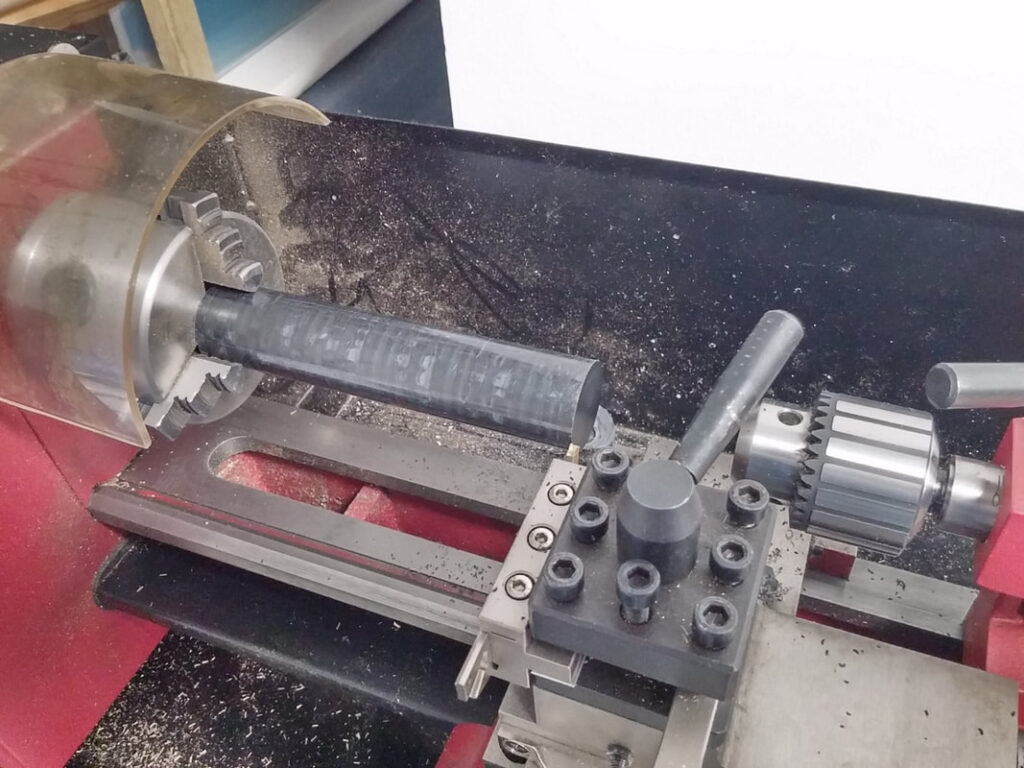
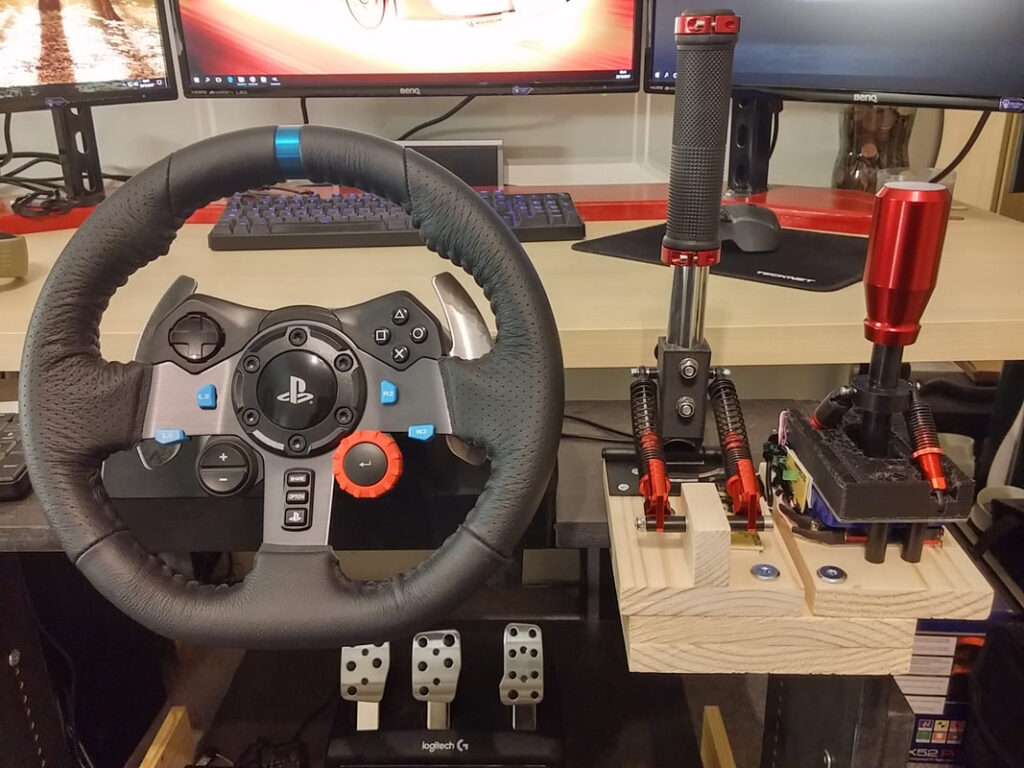
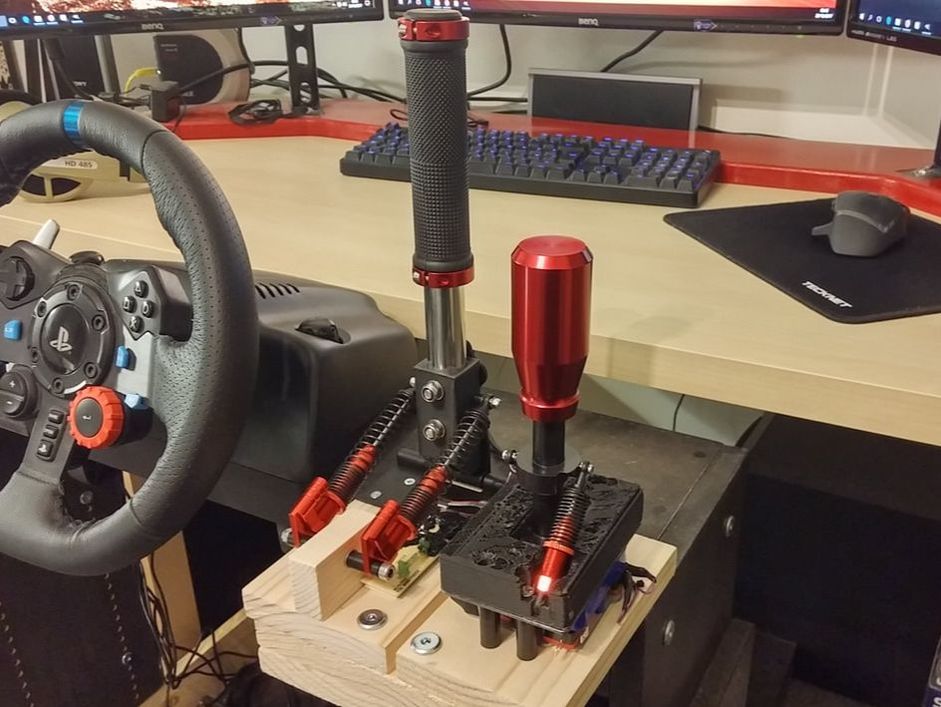
Sim Racing Sequential Shifter (12/2017)
I first began work on the shaft (that’s what she said). I bought a 30mm Ø delrin rod, cut it to the required length with a hacksaw and faced it using the parting tool. I then marked out where all the cuts would be and began cutting.


Delrin is a forgiving engineering plastic and is easy to turn. My limited experience on a lathe has taught me that the surface finish of Nylon 6 is poor by comparison, and Acrylic melts really easily! After the shape was finished, the stopped holes were drilled for the shaft; 5mm for the M6 thread and 10.5mm for the joystick shaft.
The rings of the shaft were modified, the lower one to create a key and the upper one to prevent the shocks from fouling during compression. The gear knob was then screwed onto the shaft. A mounting plate for the shocks with a keyway for the shaft was 3D printed. Unfortunately the printer lost the plot really close to the end of the print…


I trimmed the adapter plate under the joystick and made some spacers out of delrin that would make mounting the joystick both easy and stable. Just like my handbrake, I planned to mount the shifter to some softwood, so used 50mm No8 countersunk woodscrews.
Assembly was as follows: slide the mounting plate through the shaft, screw the shaft onto the joystick, align the shaft, screw the shocks into the shaft. The whole assembly could then be screwed onto the softwood base using the spacers. Nearly there…


I used the same keyboard hack as I did for my handbrake. The keyboard comprises two separate matrices with conductive ink printed on plastic membranes, seperated by a plastic sheet with a hole where each key is. Pressing a key forces the membranes together at that point which shorts pins on the controller. I circled the ones I needed and followed the traces.
The standard keyboard mapping for the Dirt games is ‘s’ to change up a gear and ‘a’ to change down, so I thought I might as well stick with this convention. The carbon was scraped off the required traces and the PCB was given a clean. Copius amounts of flux were used to ensure good solder joints.


Hot melt glue was used to encapsulate the solder joints and glue the wires to the board. The USB wires are thin and the wires for the buttons are only soldered to thin PCB traces so the joints have little mechanical strength on their own. Push on connectors were crimped on to the switch cables to allow solderless connection to the joystick.
The hacked USB keyboard controller was stuck to the side of the joystick housing using double sided foam tape. the cables were routed neatly around, ziptied and pushed onto the switches with heatshrink covering the bare crimps.


Here’s the finished sequential shifter mounted next to my handbrake. The colour of the anodized components was chosen to match the handbrake, and I think that they look good together. It’s a shame that the 3D printed bracket didn’t come out as expected, but it doesn’t affect the performance. Speaking of which…the performance is very good- it is comfortable, gives a ‘click’ on shift and feels sturdy. The springs compensate for the weight of the gear knob well. When pulled back and let go the shifter returns to centre quickly with minimal wobble; if it is not critically damped it’s not far off. I would have liked the shifter to feel a bit more stiff, but I think that moving to a higher spring rate would help with this. If I were to make another one I might also look for a way to make the shift feel more positive, or notchy, but I’m just being picky. Maybe I’ll revisit this project at some point, but I’m quite happy with it for now.