Sim Racing Haptic Chair (04/2017)

Whilst watching YouTube videos of sim racing setups, I saw that people were using tactile transducers to feel the in-game vibrations generated by the car; I was intrigued. After a little reading around the subject I was amazed at how I had not come across these things before! These ‘Bass Shakers’ had positive reviews from everyone who had tactile setups, so I decided to add tactile feedback to my setup and see what all the fuss was about…
As usual, I had a specific set of requirements for my setup:
  • My racing setup is not permanent and my chair gets used for general computing too, so modifications could not interfere with the normal operation of the chair
  • The cable going to the Bass shaker(s) should be connected to the chair via a locking quick-release connector.
  • The modification must look as OEM as possible.
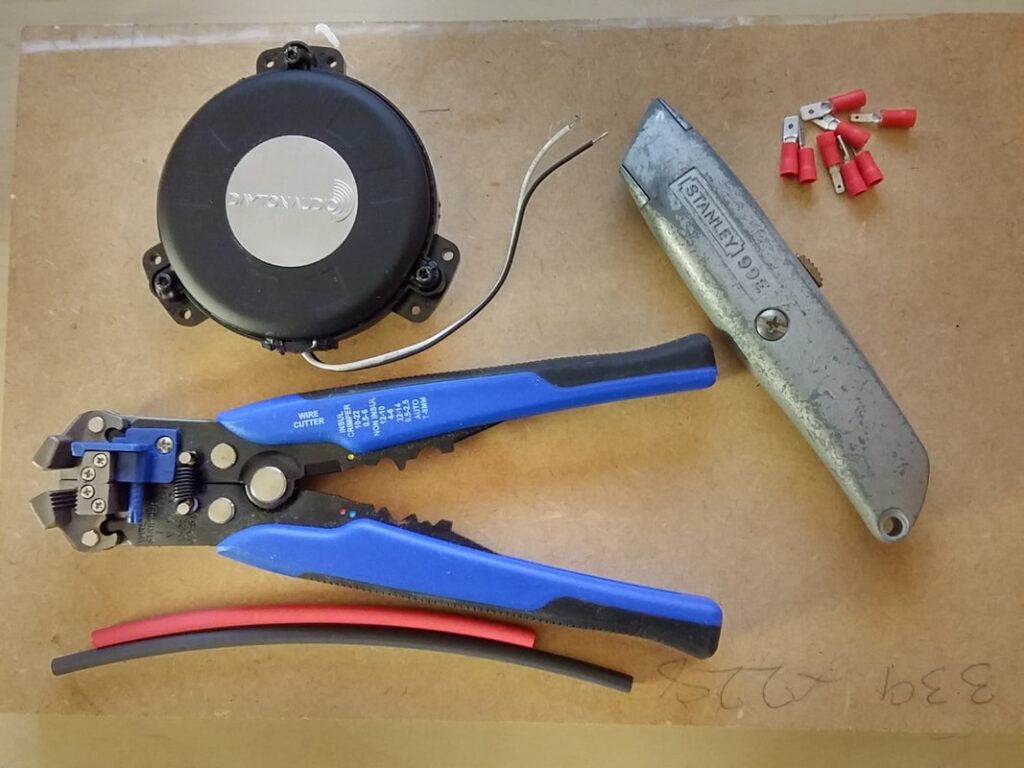
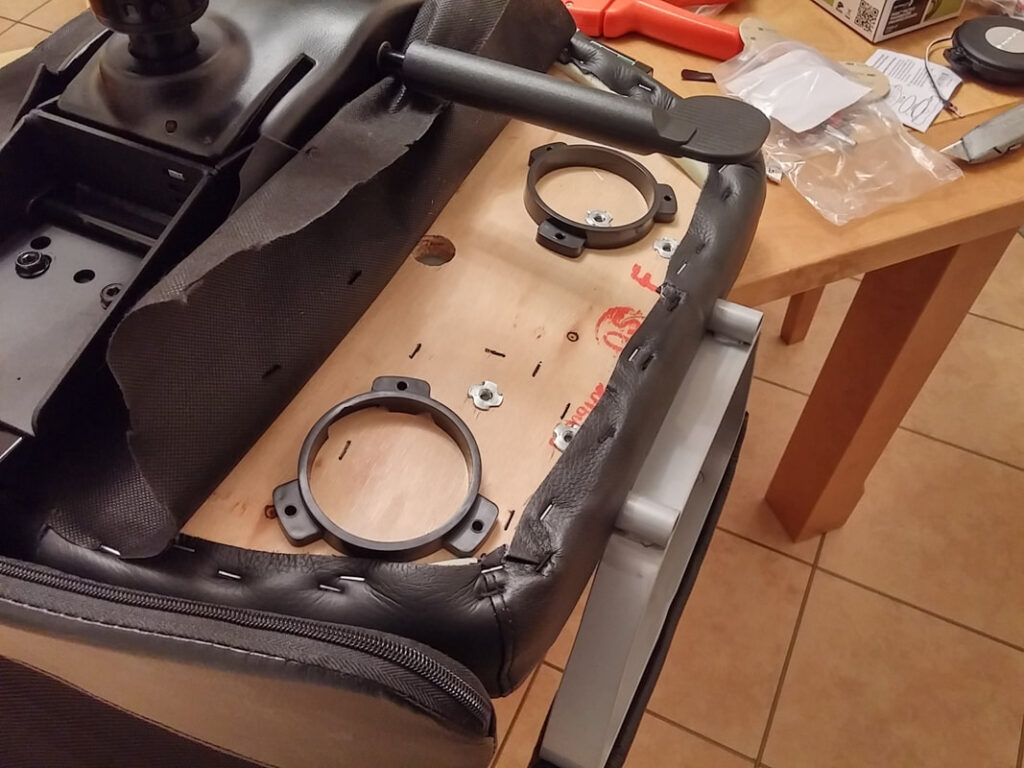
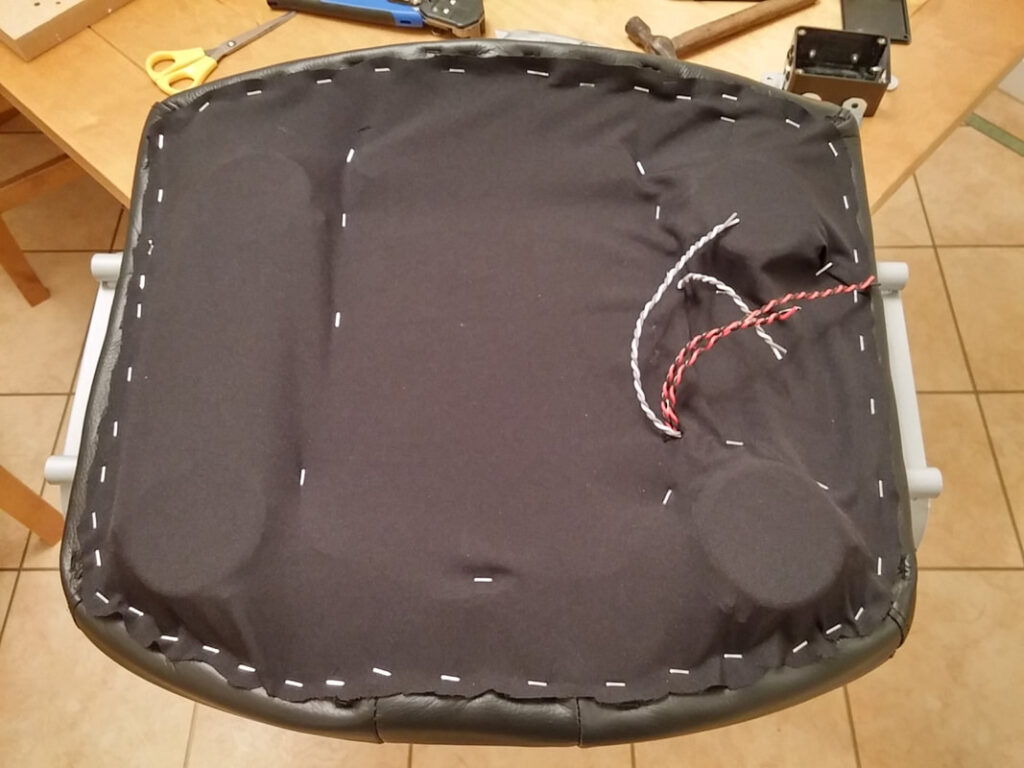
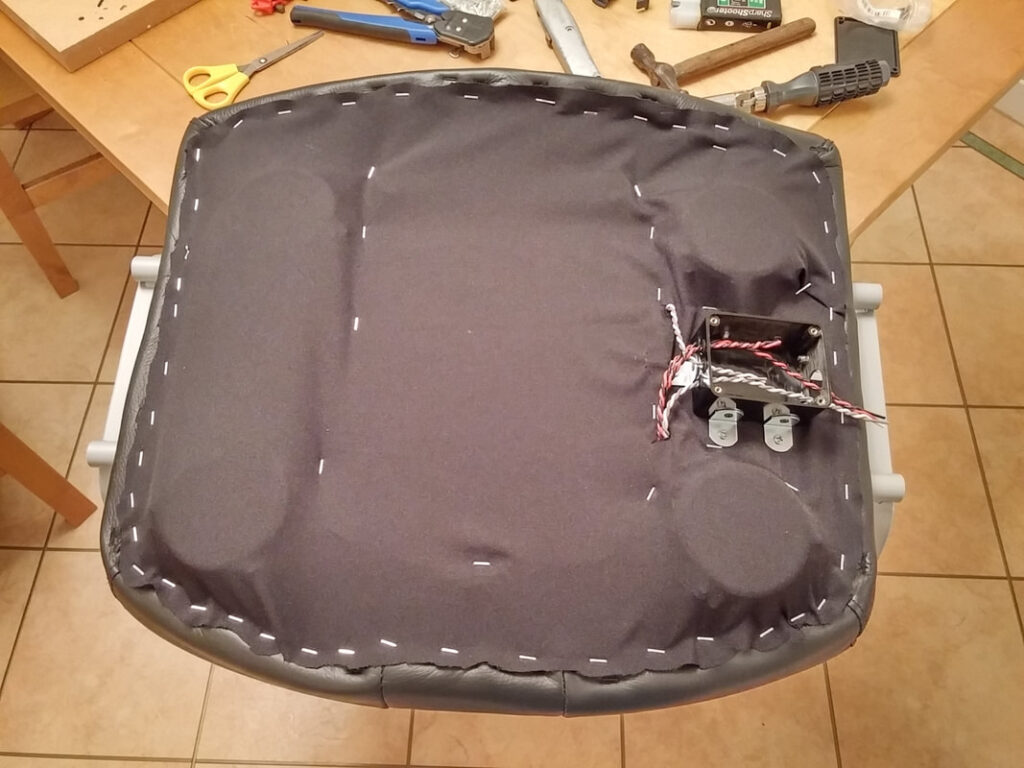
I decided to mount 4 Dayton Audio TT25-8 PUCK tactile transducers to the underside of my chair. I was strapped for space and I was able to fit these with ease. I bought the pucks from SoundImports, as I couldn’t find a UK distributor for Dayton Audio. Dayton Audio offer a 5-year warranty on their products and this is honoured by SoundImports; I have found over the years that long warranties tend to be a good indicator of quality.

The PUCKs come on flying leads, so the first thing I did was to add crimp connectors. I followed the standard speaker convention:

  • Positive: Male Spade, 4.8mm
  • Negative:Male Spade, 2.8mm

I colour-coded the heatshrink out of habit.

I decided to use XLR connectors between the amplifier and chair, as these met my requirements. I modified a project box that would house the connector and wiring, and then began to plan exactly where everything was going to go on the underside of my chair…

I pulled back the lining to see what I was in for and was pleasantly surprised to see that this was going to be pretty easy after all. I removed the chair base, binned the lining and screwed the PUCKs to the base using the mounting rings. The symmetrical placement of the transducers is advised against in the application note, however I did not have much choice.

The PUCKs were wired up in a 2×2 configuration to give 4Ω per channel with a maximum power handling of 30WRMS per channel. Thinking ahead, this configuration would give more flexibility than a single 2Ω channel, and I could always connect them in parallel later if I needed to. The seat was then recovered with some black synthetic fabric.

The project box was screwed into place; 6 angle brackets ensure that it’s going nowhere! The cables were then spliced, insulated and soldered to the XLR socket. Finally, the lid was screwed on to the box. Now for the moment of truth…

The chair is pictured with the XLR cable connected. Have a look at my Haptic Amplifier page to see how I made the amp and the XLR cable (it took me 8 months but I got round to it). Without it connected, the modifications are barely noticeable. The chair has retained it’s full range of motion, both for height adjustability and lean, but obviously can no longer continuously rotate when the cable is attached. Unplug the cable though, and you can spin to your heart’s content. The Dayton Audio PUCKs are pretty intense, and I’m really happy with the resulting effect in-game when driven with SimVibe. The immersion has stepped up another level; I think once you experience in-game haptic feedback there really is no going back.

Listening to music with the tactile transducers on compliments my sub nicely; the vibrations I feel through my table and keyboard are mirrored but exaggerated somewhat through my chair, tricking my mind into thinking my sub is hitting harder than it really is. I want to be clear- there is no replacement for displacement…the transducers don’t move air- you ‘feel’ the bass through conduction. In situations where it is not possible to have a big sub, these are an excellent compliment. I think these little transducers are so awesome that I put a bunch of them in my Fiesta ST – check out that fully documented project in the Vehicles section.

Projects