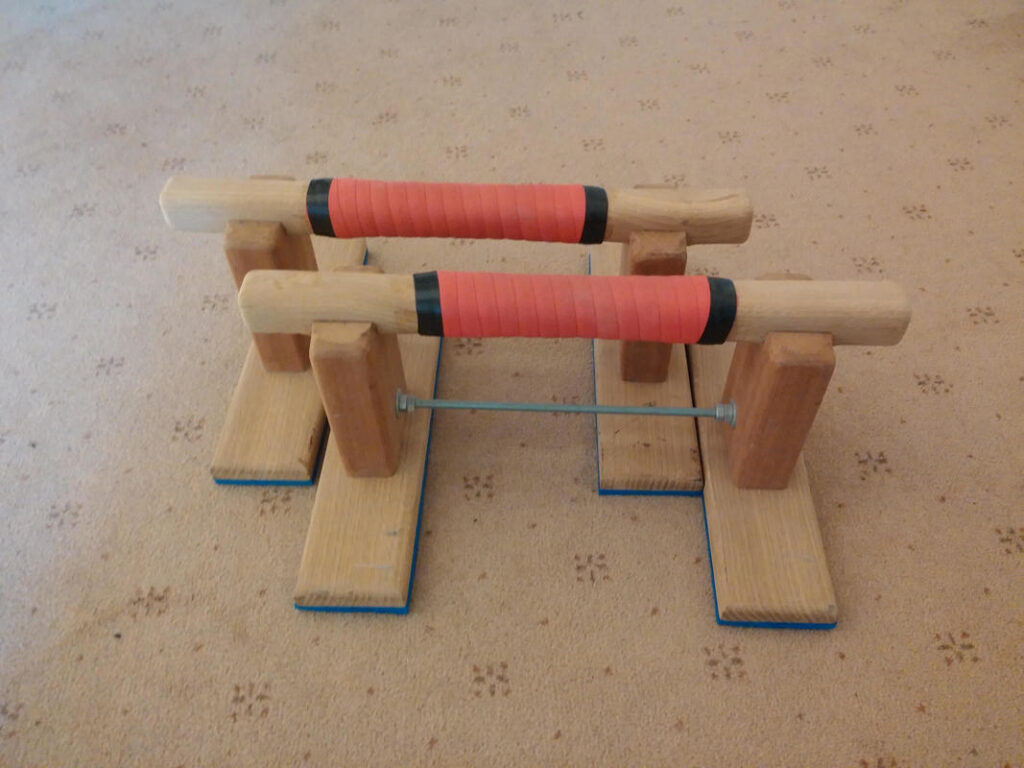
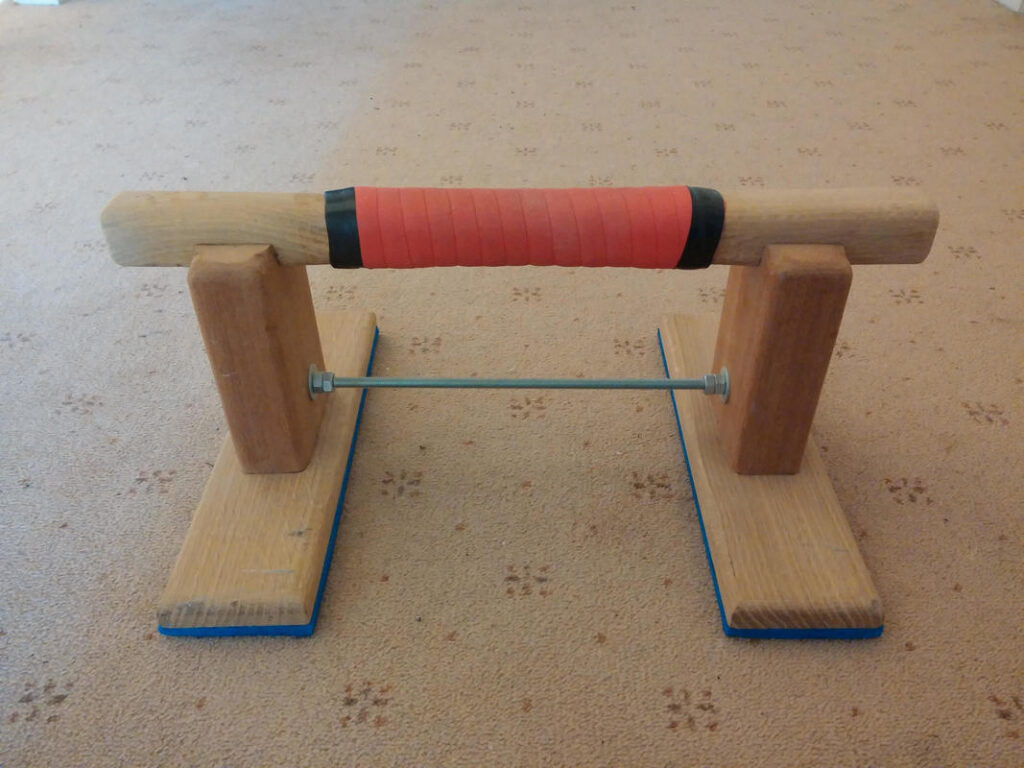
I first heard about parallettes whilst watching the Buff Dudes YouTube channel and just had to make myself some. I did a bit of reading around the subject of parallettes and had a look around to see what I had in my garage; by the end of the weekend this is what I had managed to make:
The rails and feet are made from European White Oak, the upright supports from Iroko. I used a spokeshave to round over the centres of the rails and wrapped them in some spare grip tape I had for my road bike. The rails are half lapped and glued to the upright supports. The feet and upright supports are joined together via double stopped mortise and tenons and copious amounts of glue. I glued some camping mat to the feet to provide grip and prevent scratching on laminate floors. The threaded rod was an afterthought; I could feel the rails flex as I loaded them with my weight and this solved that issue. They do look the part and they are really strong and stable, however they are way too short and they are not very comfortable after a while.
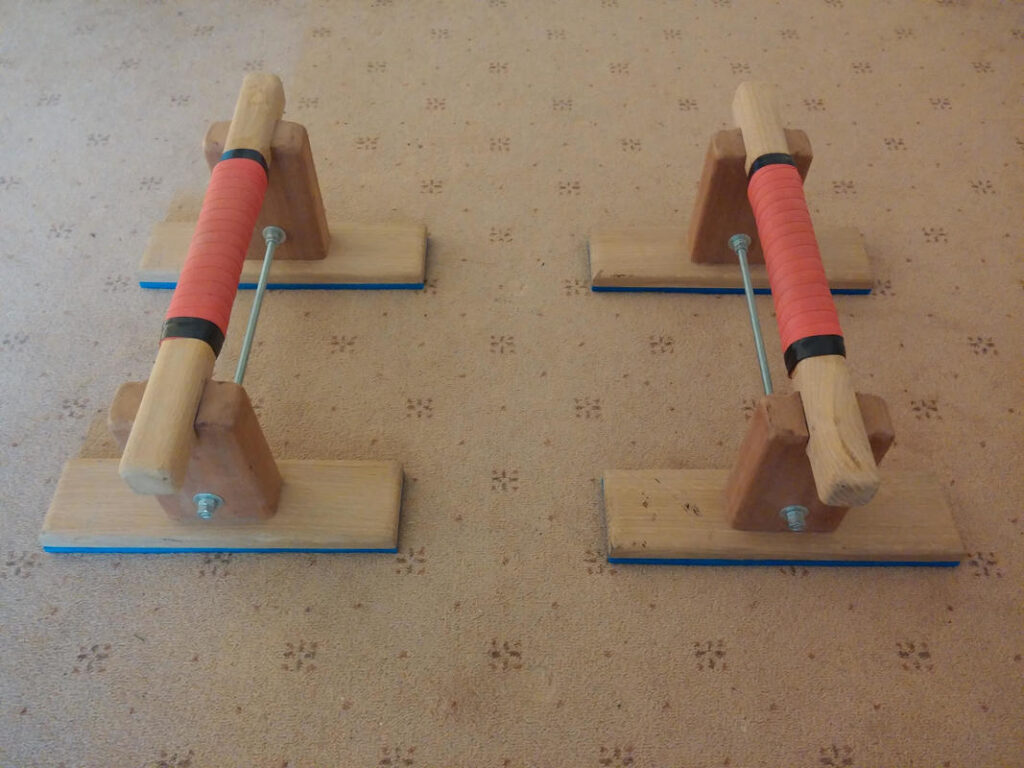
A couple of months later I decided it was time to revisit this one and give it a proper go. I wanted to design the parallettes in such a way that very were very solid when together but could be taken apart quickly and easily if need be for storage or transport. I used this guide on American Gymnast to help determine my final dimensions.
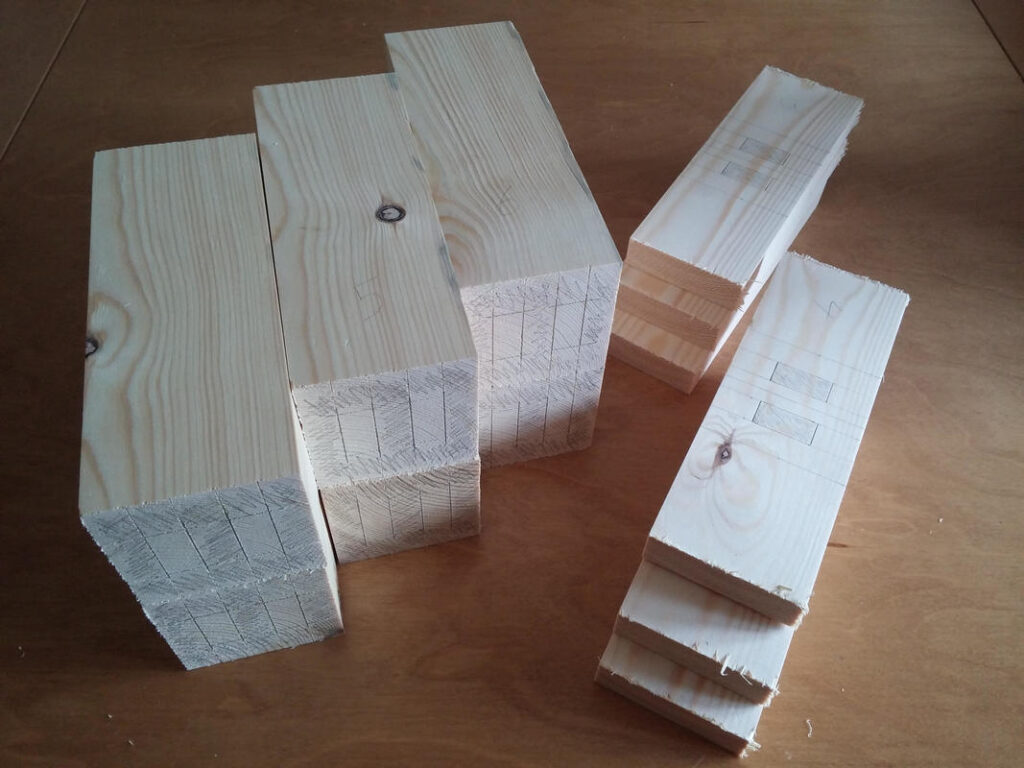
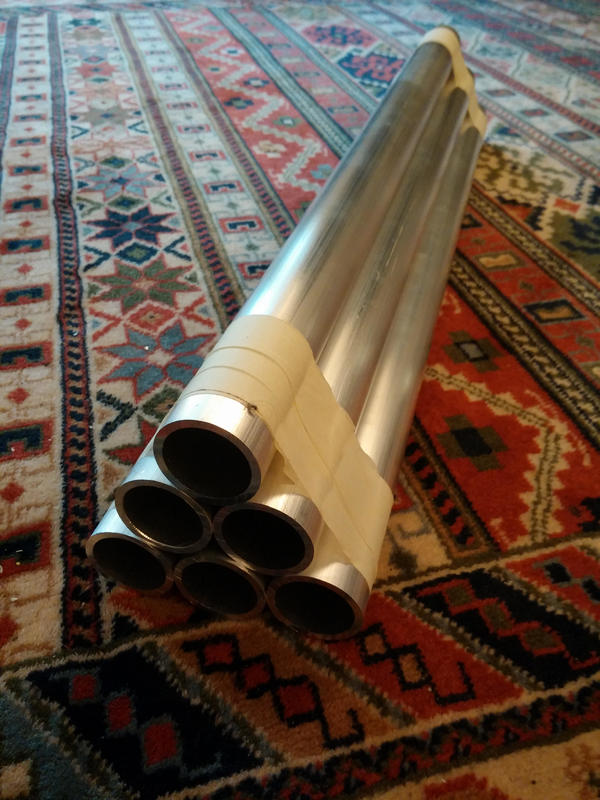
My local timber yard offers a cutting service, so for an easy life I took advantage of it. I marked up all of the joints at the same time; it is faster to work this way, particularly if you are making a few of something. The 1 1/2″ (38.1mm) diameter aluminium tube was sold in 600mm lengths, so that did not require any further cutting. I bought enough tube to make three pairs of parallettes to hit a price break, and marked up a couple of extra uprights so that if i needed to make the other pairs I could take my measurements quickly from these.
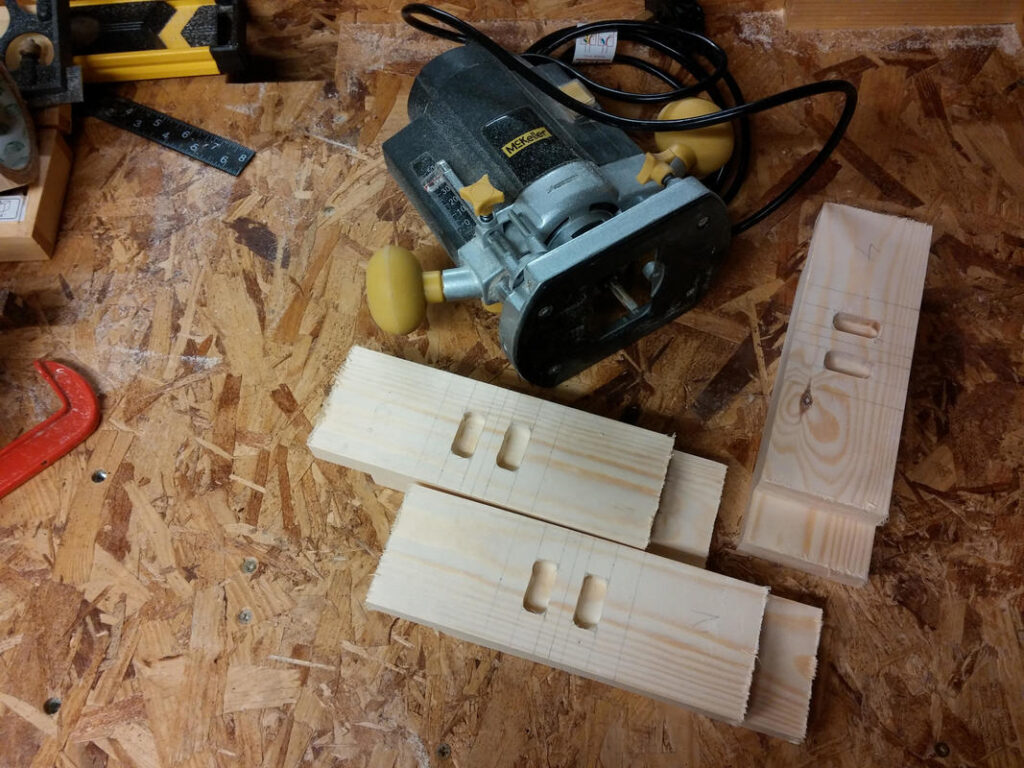
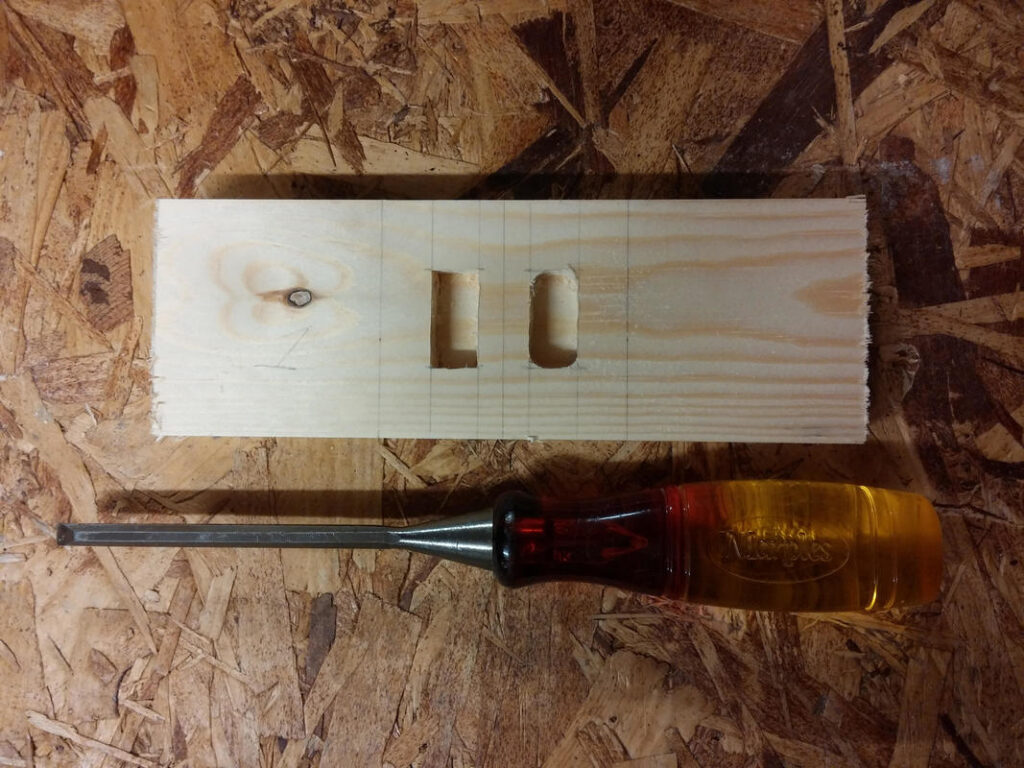
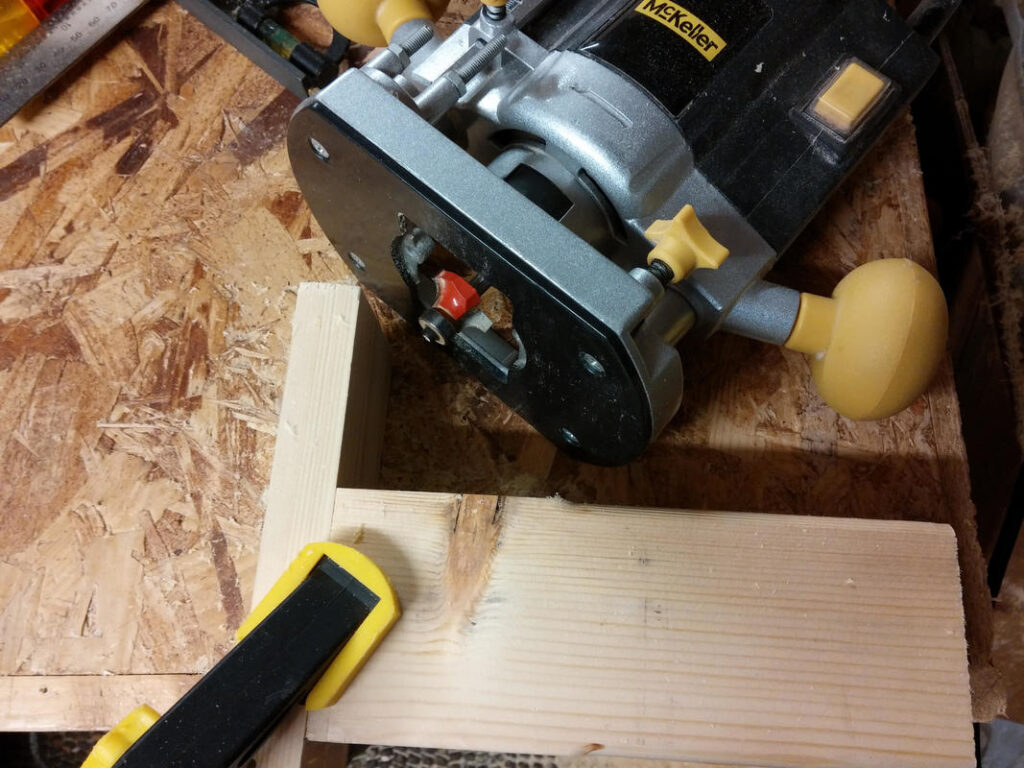
A router was used to remove the bulk of the waste from the stopped mortises. A chisel was then used to square the corners.
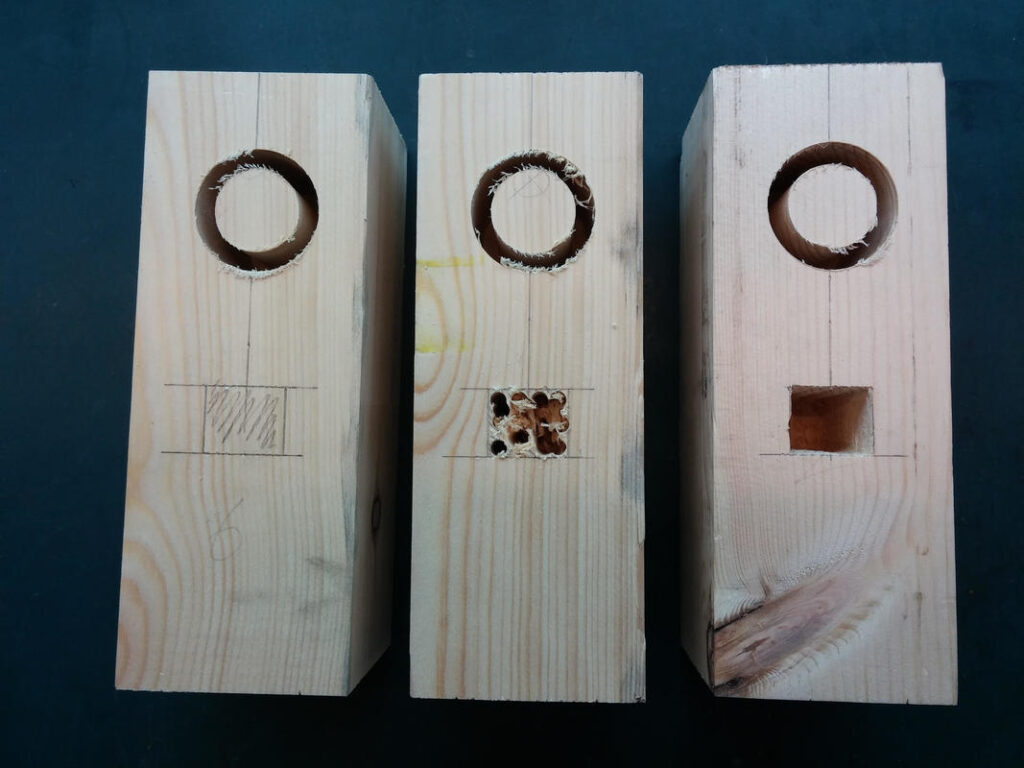
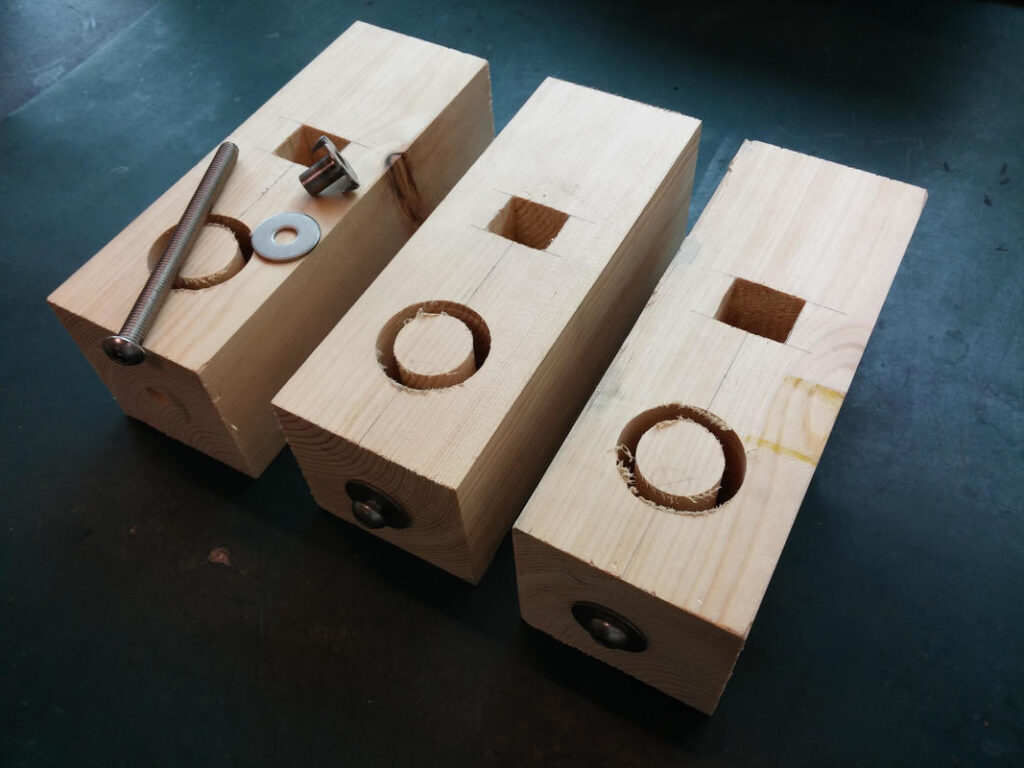
Stopped holes to locate the tubes were cut on a CNC mill. I decided to fix the tubes to the uprights via a long bolt down the centre of the upright, through the tube and screwed into a T nut. Stopped mortises were cut out to allow the T nuts to be placed into the upright and counterbores were routed in the top to allow the button head bolts to sit flush.
The tenons were then routed out of the bottom of the uprights and finished with a chisel. The joints were glued and clamped and left overnight. Once the glue had set, the uprights were given a once over with a 1/4″ round over bit and then sanded.
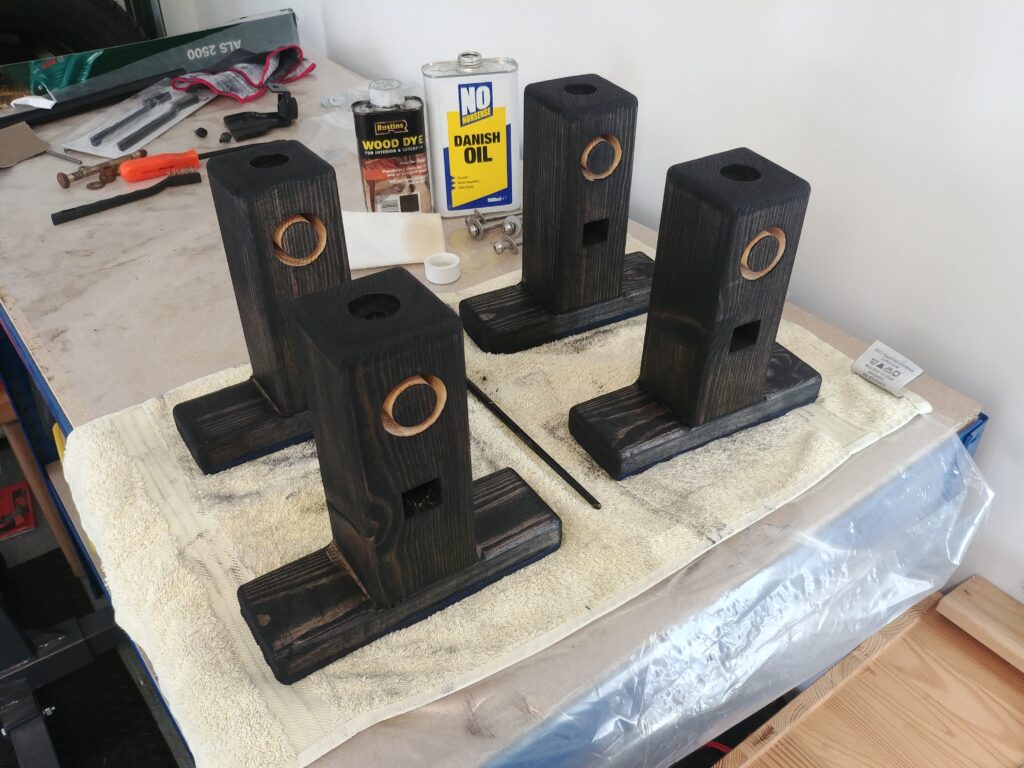
I glued camping mat to the feet as I did in my first pair to protect hard flooring against scratches. I dyed the feet with Rustins black wood dye and then gave them a couple of coats of No Nonsense danish oil to finish and protect them. Finally, I polished the aluminium tubes by first using wet & dry paper, working up the grades and finishing off with some Silvo Tarnish Guard metal polish wadding.
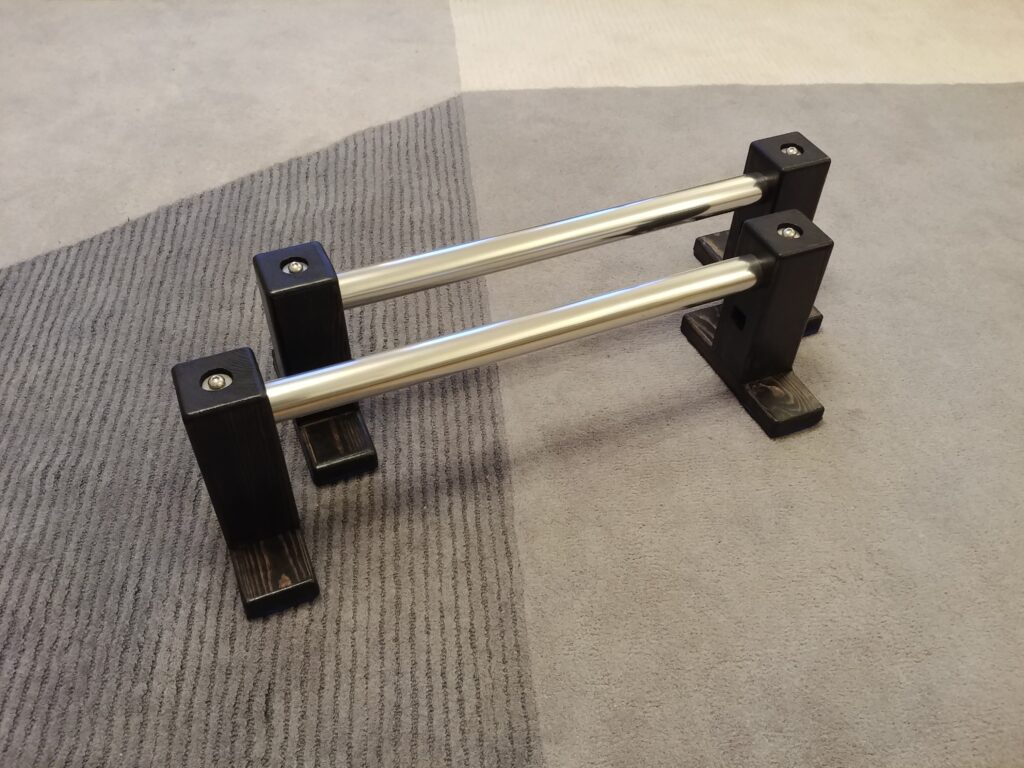
These parallettes are far better than my first attempt. The top of the bar is 170mm off the ground, and there is 500mm of available rail. They are extremely sturdy with no noticeable flex, and only one allen key is needed to assemble/disassemble. The 1 1/2″ tube is a comfortable size to hold and feels so much better than the grip tape. I was worried about the level of grip on the polished aluminium tube but I have not had any issues with hands slipping off the bar. Overall, I’m very happy with how these parallettes turned out, I just need to make time to use them…