The Fiesta ST comes with good interior lighting features as standard; front footwell, glovebox, door pocket, accent lighting on the dash and centre console, as well as two dome lights, the front one with map lights. There is a boot light, however it’s not much use.
I felt that the interior lighting was missing backwards-facing under-seat lighting to light up the rear passenger footwells. The boot also required more lighting to bring it up to scratch. I would like to share with you how I added these features to my car. Please note that the construction of the lighting kits themselves is not covered, only how they were fitted.
The standard halogen bulbs are as follows:
W5W (501): Front footwell (driver + passenger) / glovebox / rear dome / front map (driver + passenger) / boot
C5W (239): Front dome
SWaP optimisation: All bulbs were replaced with red LEDs apart from the front map lights, which were replaced with white LEDs. The drop in current draw by switching all of the bulbs to LEDs allowed me to run all of my additional lighting off the OEM wiring- no additional power runs or fuses.
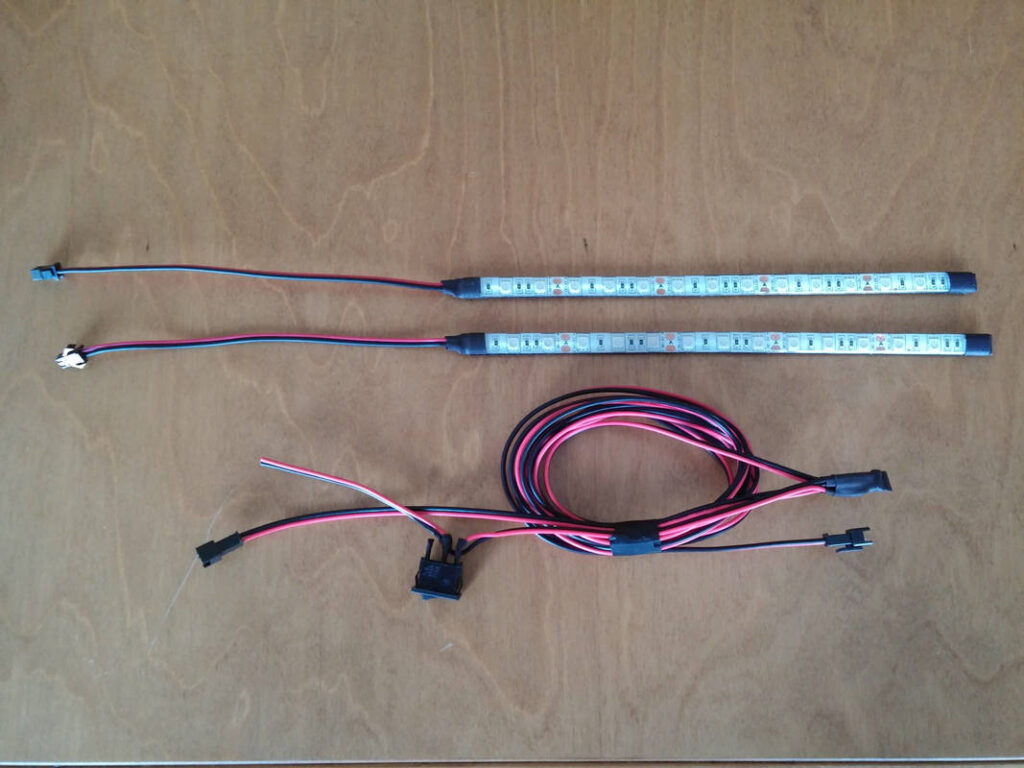
I made the under-seat lighting kit. It comprises:
An inline switch on flying leads on one end, 2-way JST SM Female connector on the other
2-way JST SM Male to 2-way JST SM Female extension lead
Two red 300mm LED strips, velcro-backed, 2-way JST SM Male connectors
I also made the boot lighting kit. It comprises:
An inline switch with flying leads on one end, two 2-way JST SM Female connectors on the other.
Two red 250mm LED strips, velcro-backed, 2-way JST SM Male connectors
I made this kit instead of buying one because I had a particular set of requirements:
I wanted to be able to switch them off
I wanted a modular system that I could easily replace lights if one died or if I wanted to change the colour later
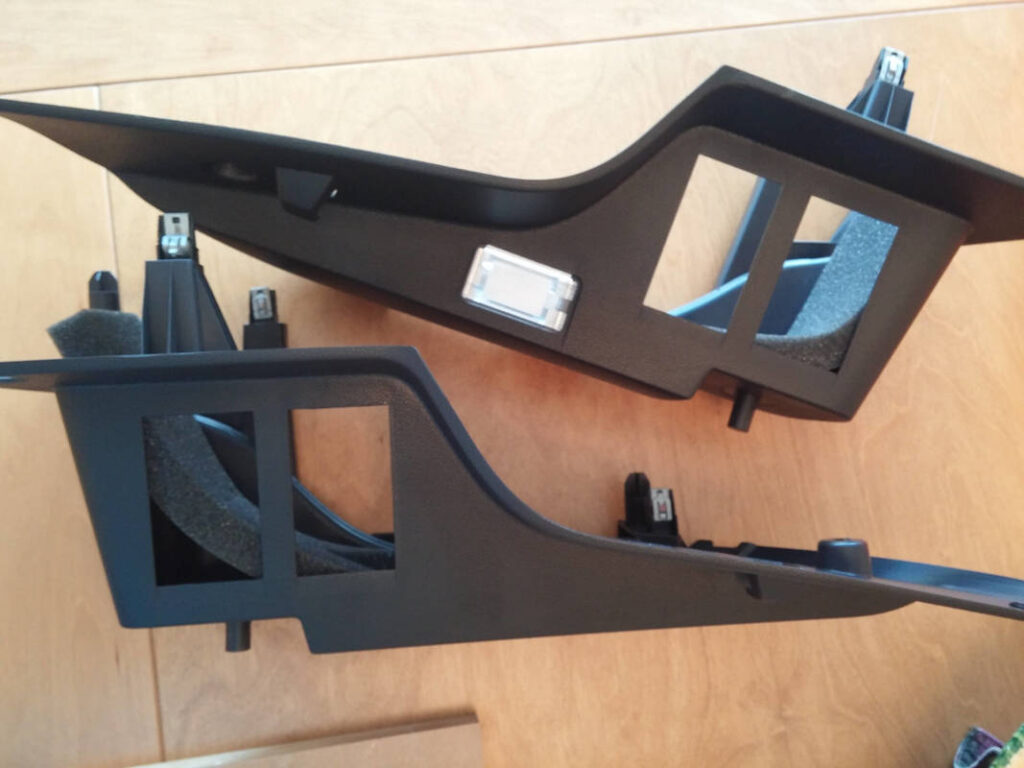
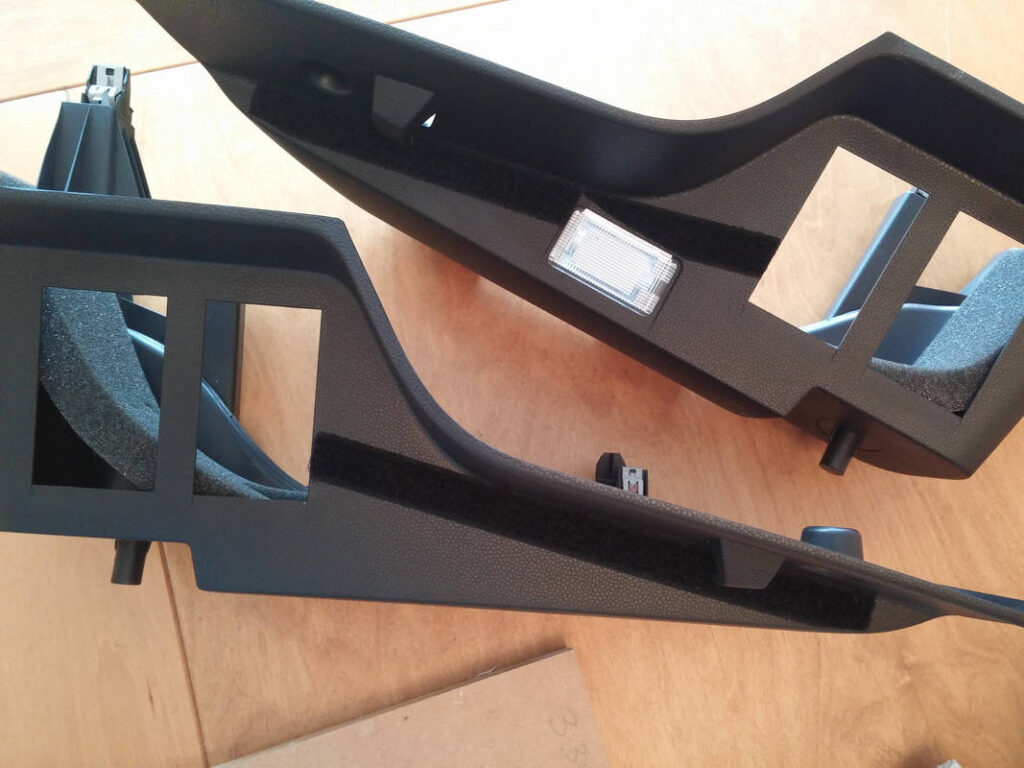
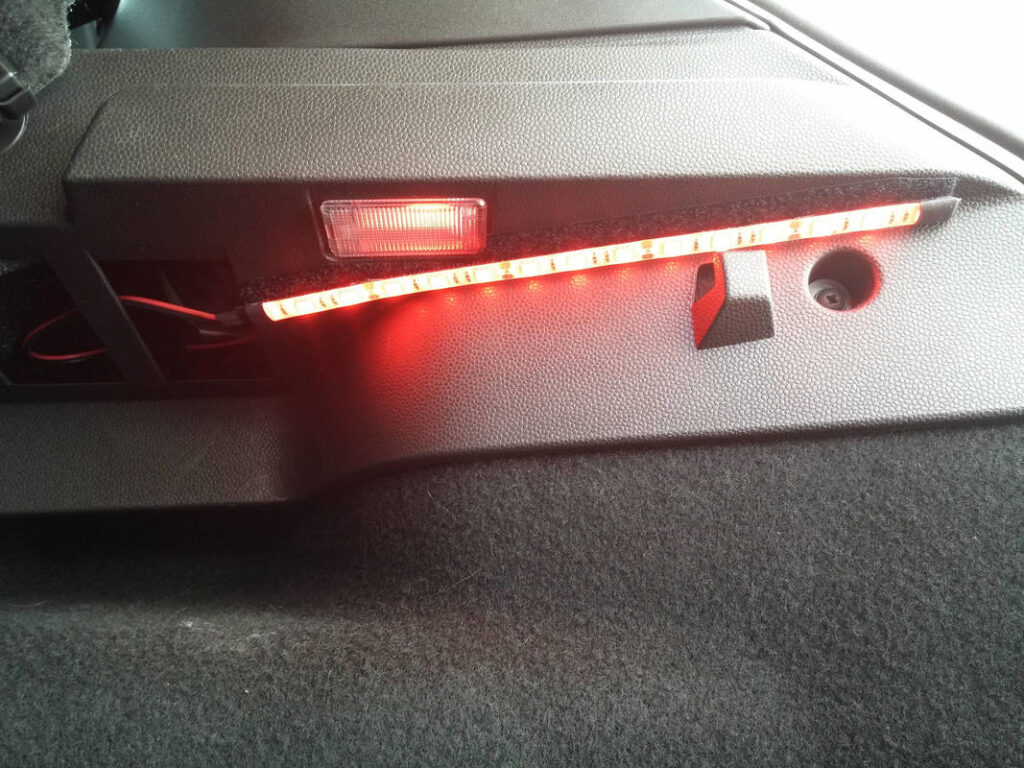
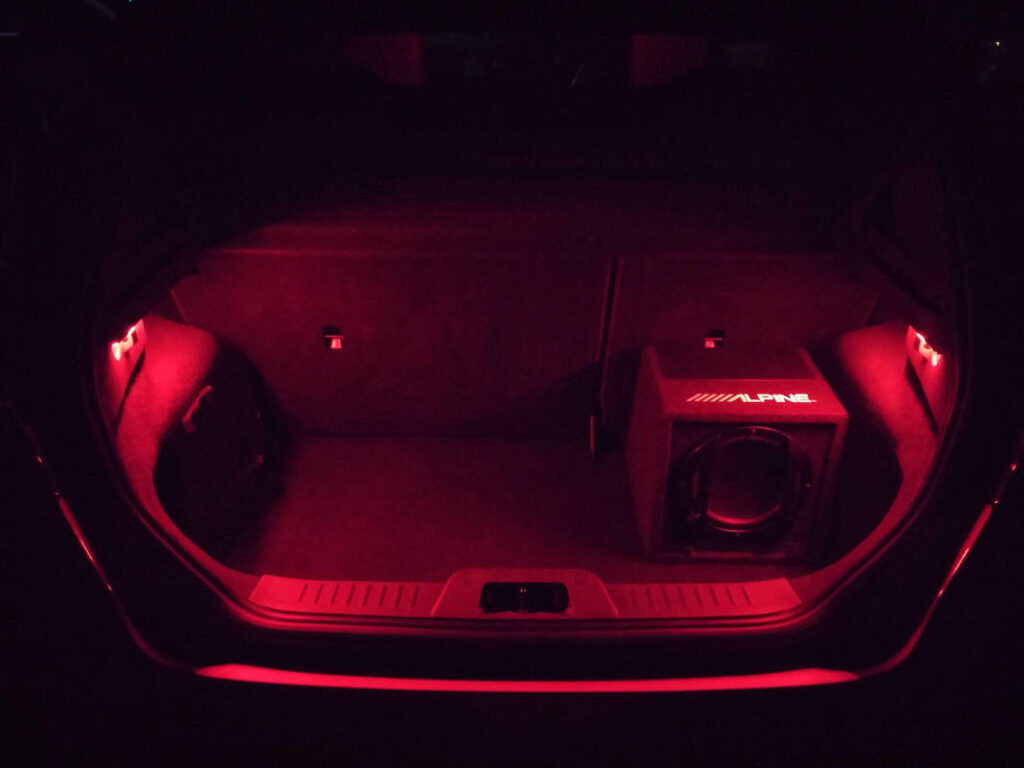
To fit the boot lights, the shelf support trim panels were removed and the surfaces cleaned with IPA. 20mm Velcro loop tape was then trimmed to shape and stuck down to the panels.
I found that the Velcro adhesive isn’t very good long-term (or even medium-term). 3M VHB tape used between the Velcro and plastic is better, but I have yet to find a fit-and-forget solution that doesn’t involve glue of some sort. I had similar issues with the bond between the LED strips and Velcro hook tape; contact adhesive solved that problem.
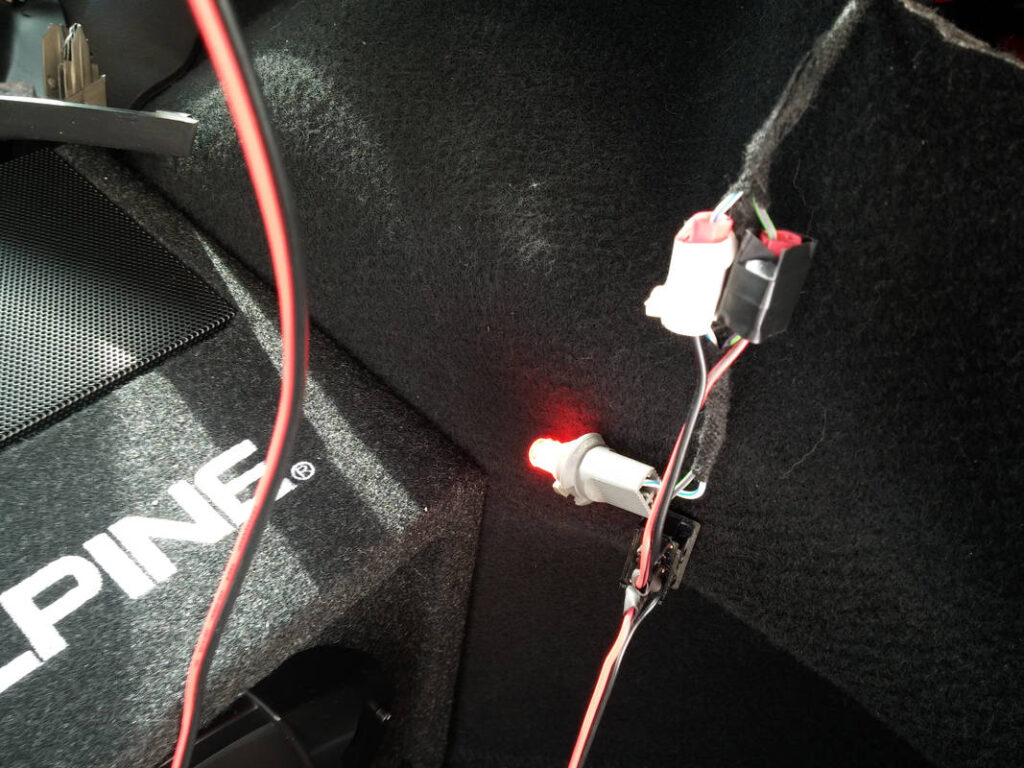
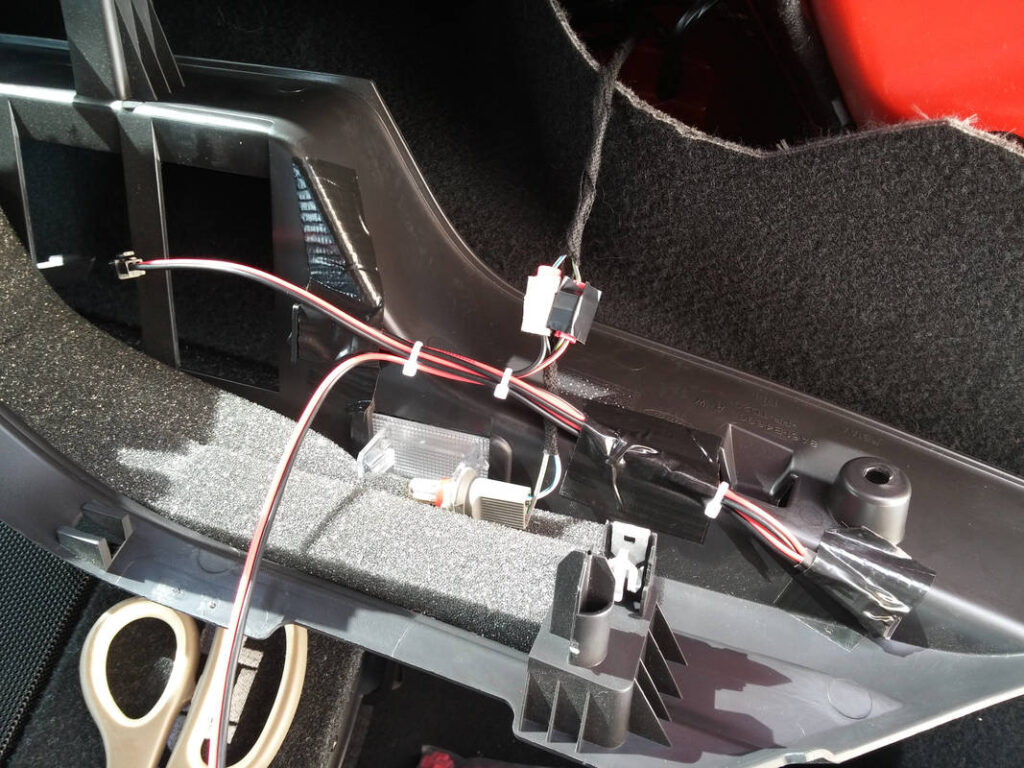
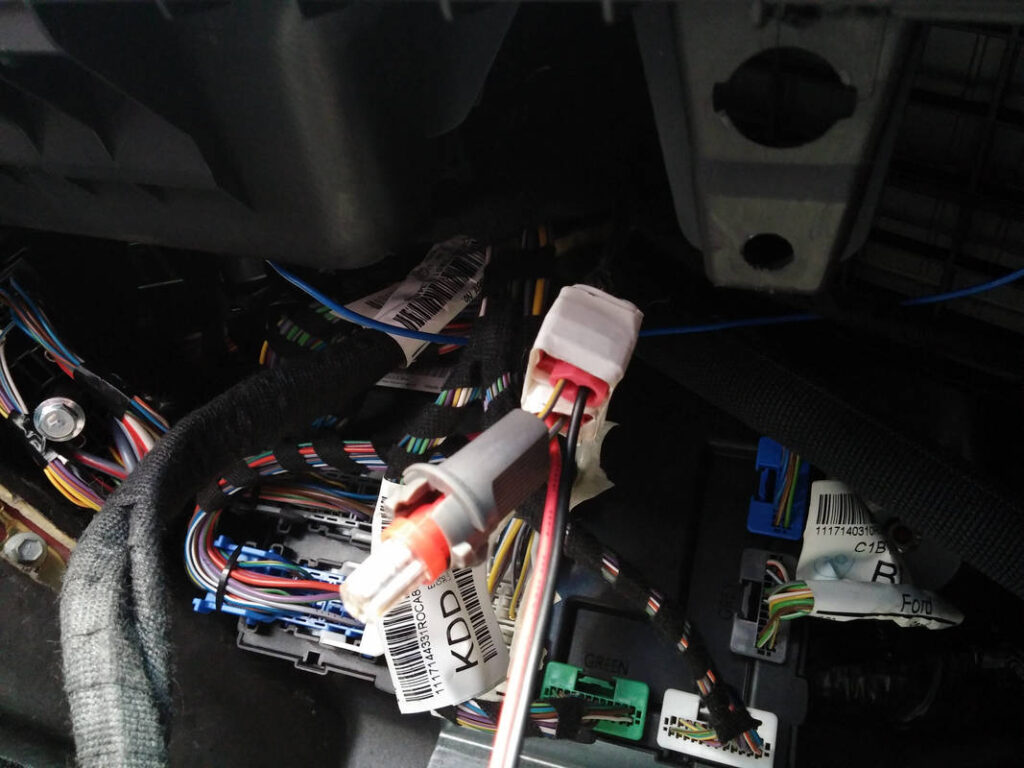
I used red scotchlok connectors to tap into the boot light. The wiring is as follows:
Green with purple stripe: 12V
White with blue stripe: 0V
I replaced the OEM boot light with a red LED while I was at it.
NOTE TO ALL WHO SAY SCOTCHLOKS ARE RUBBISH: I’ve never had a problem with them… If you’re having problems I suggest reading the datasheet to ensure you are using them correctly…
I tidied the cables (TESA 51608 wiring loom tape is better than cable ties, but I didn’t have any) and stuck down the switch so it could be reached from the hole in the panel. The cabling was secured to prevent rattles, and panel refitted.
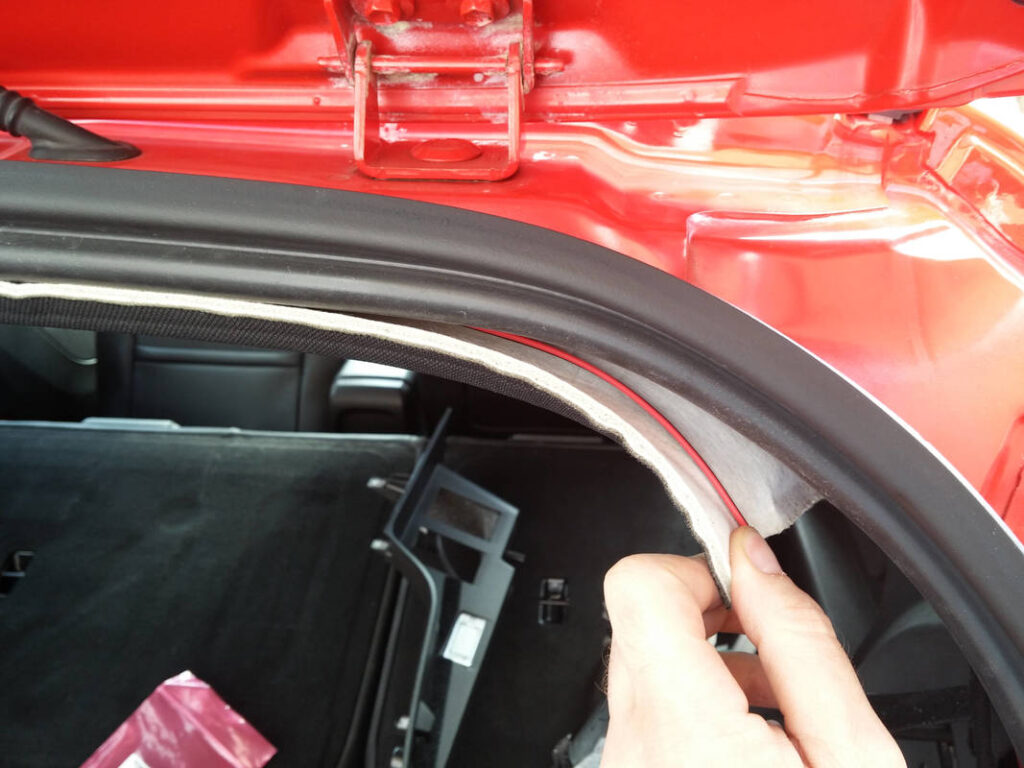
Passing it up and over, behind the roof lining is the only way of hiding the cable that powers the light on the other side.
The cable was secured to the other side and then the panel was refitted.
The JST SM connectors are quick-release, so the strip lights are easily replaceable; the strip lights simply velcro to the panels so can be removed easily.
I removed the footwell light bulb holders from their metal brackets and used red Scotchlok connectors to tap into them. The wiring is as follows:
Green with purple stripe: 12V
Yellow with purple stripe: 0V
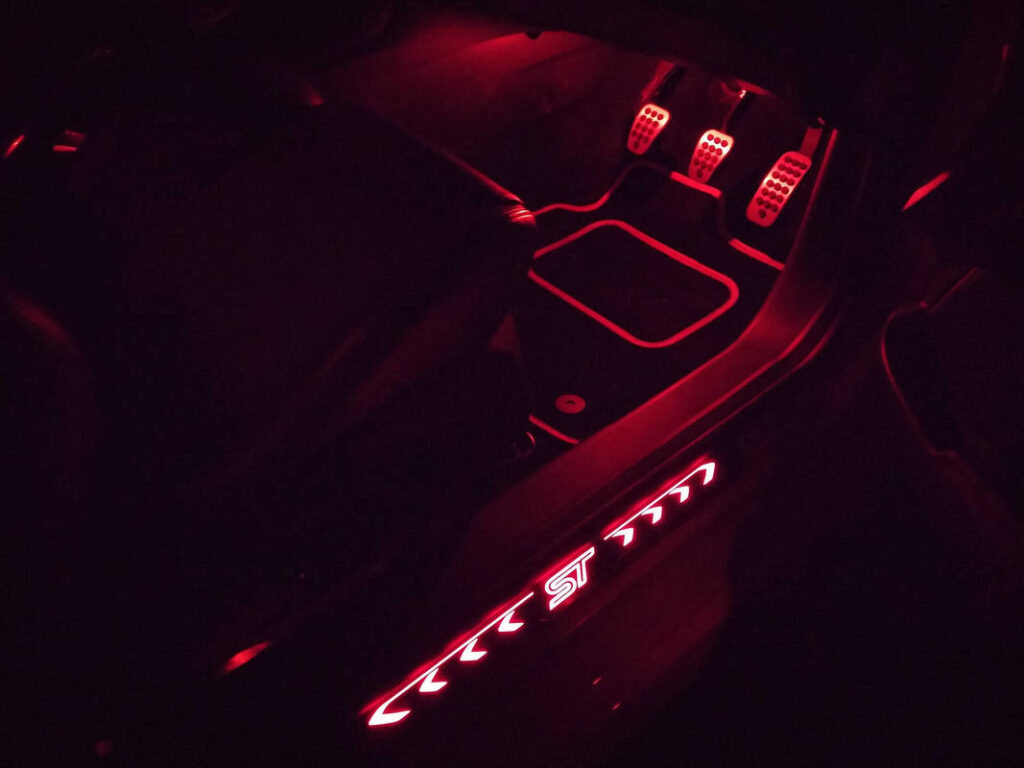
I found that space was tight and it was frustrating and fiddly- particularly the passenger side where I had to recline the seat and sit upside-down to see and reach at the same time. I taped the switches down in locations that were out of sight but could be toggled easily if required.
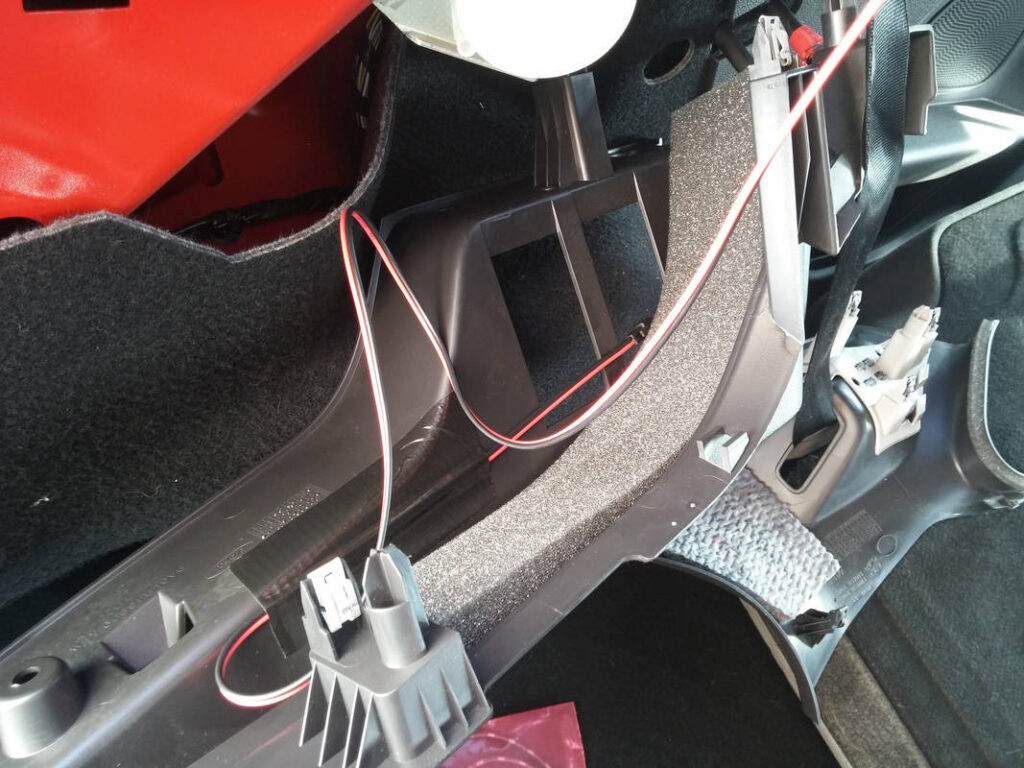
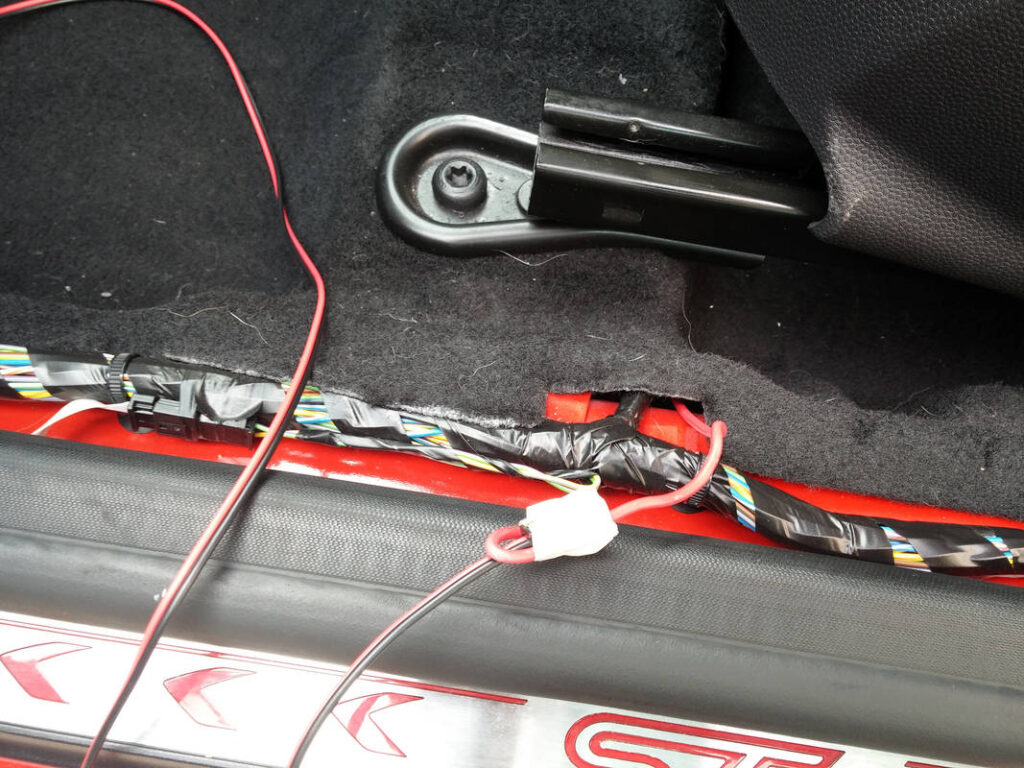
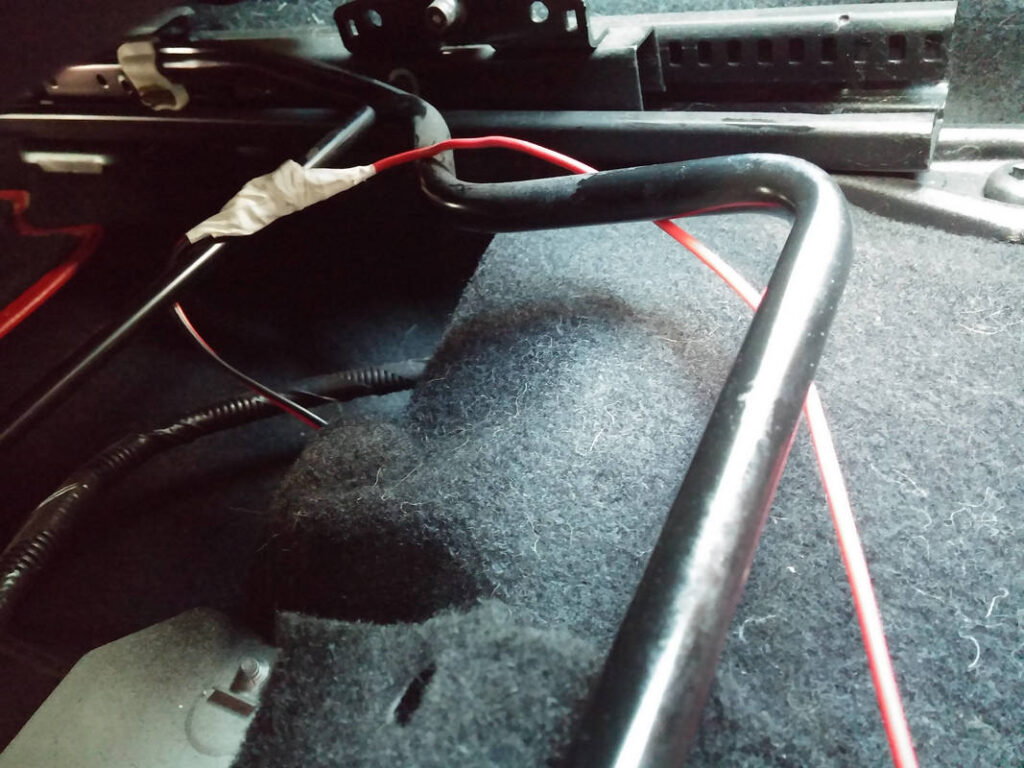
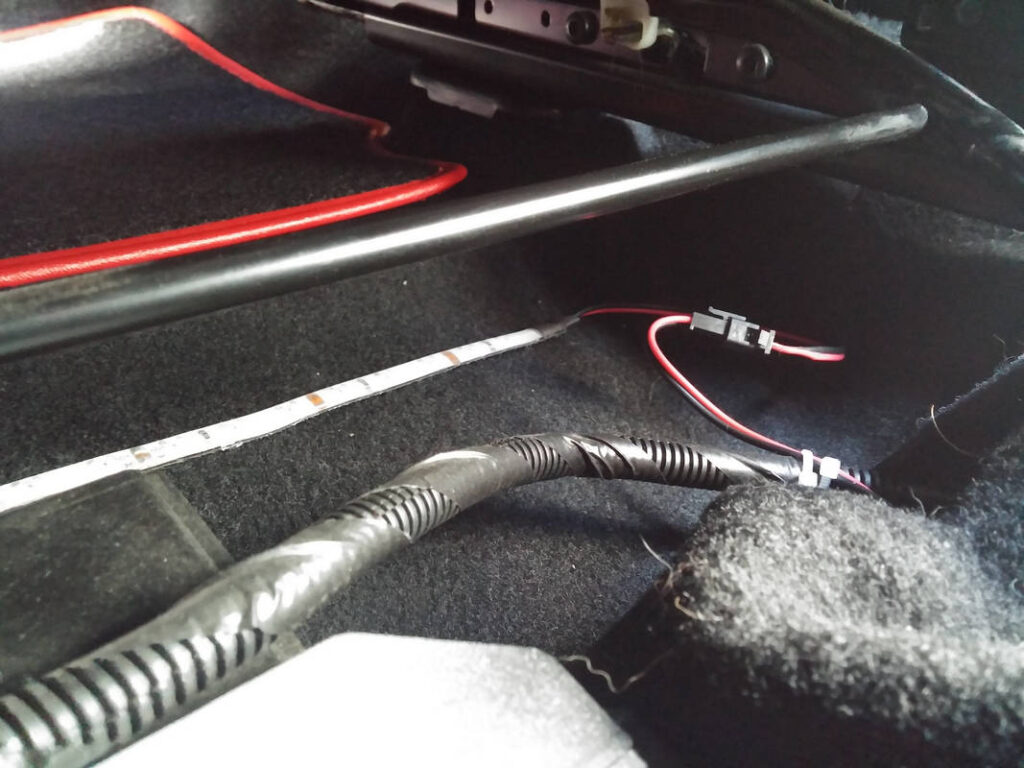
I then removed the passenger side kick panel and interior sill trim. This is the route that the extension lead takes from the footwell light to under the seat. The cable for the seat warmers provides the ideal route, I just needed to fish the cable through. I did it with a piece of ~16AWG wire taped to the JST connector. It is another fiddly task (I found the driver’s side harder), but far from impossible.
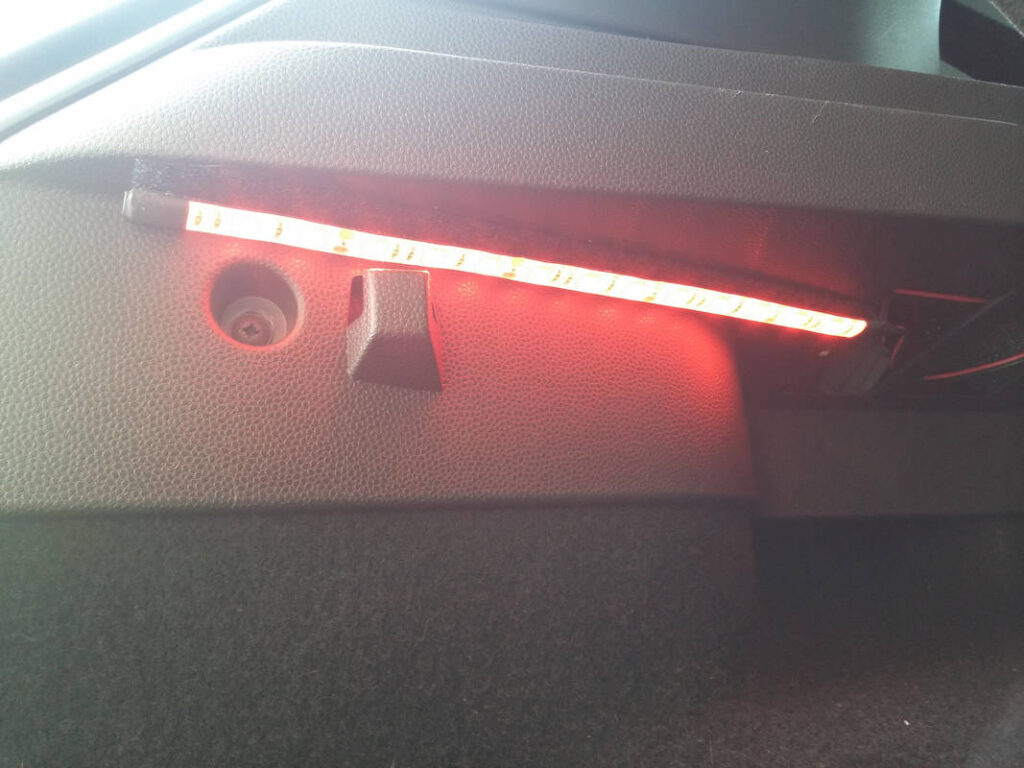
When the lead had been fished through, I used a cable tie (you should probably use TESA 51608) to secure the lead to the seat warmer cable; this was to reduce the chance of rattles and also of me losing the end and having to go fishing again. I found that to get a decent throw of light the strips had to be raised off the floor. 38mm x 25mm trunking from Wickes, stuck to the floor with Velcro solved that problem nicely. As with the boot lights, the JST SM connectors are quick-release so the strip lights are easily replaceable.
I’m very happy with the results of this modification. I really like the effect and have had lots of positive feedback. The bulbs that I fitted are not too bright, and give off a lovely red glow.