An important requirement for this build was to retain as much boot space as possible, with all audio equipment protected against damage from luggage- the car needed to remain moderately practical… After much deliberation, it was decided that the best solution would be a 10″ Subwoofer in a custom sealed enclosure in place of the spare wheel. A false floor with a speaker grille would be placed over this for protection, and an LED strip under the false floor would provide accent lighting through the grille. A cabinet would house the amplifier and any other electronics and fuses, with a perspex window with LED strips to allow the amplifier to be seen with accent lighting.
The SWaP principle was applied to the design of the false floor and cabinet to retain as much cargo space as possible whilst making them strong enough to provide protection and be able to support luggage, whilst adding as little extra weight as possible.
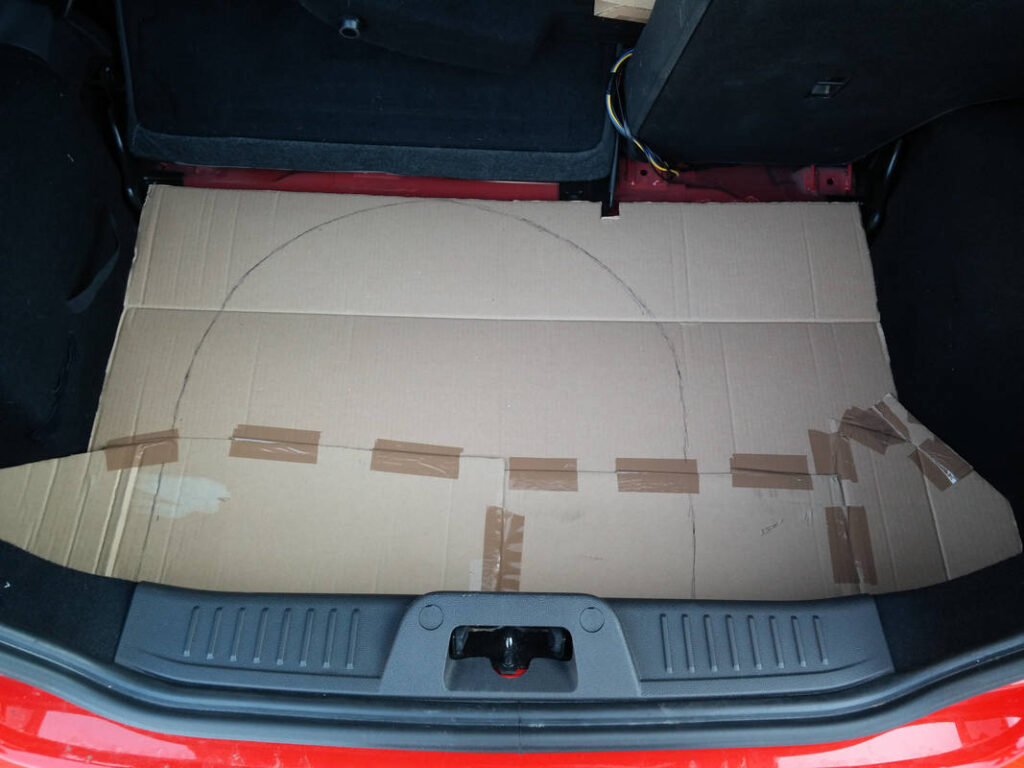
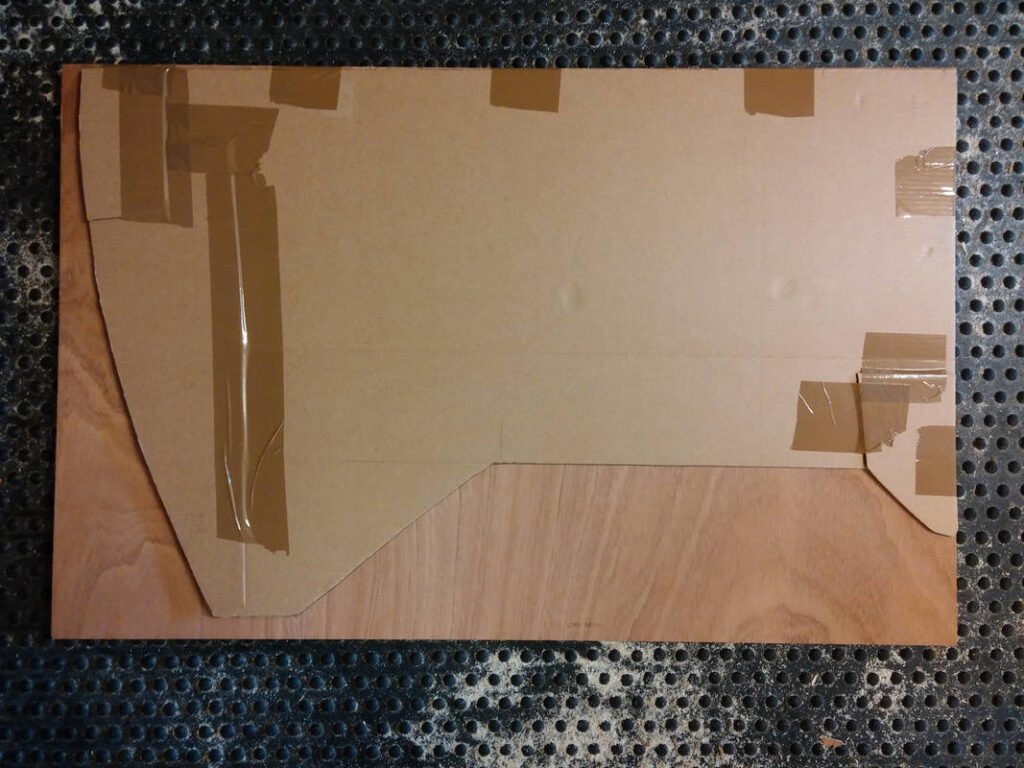
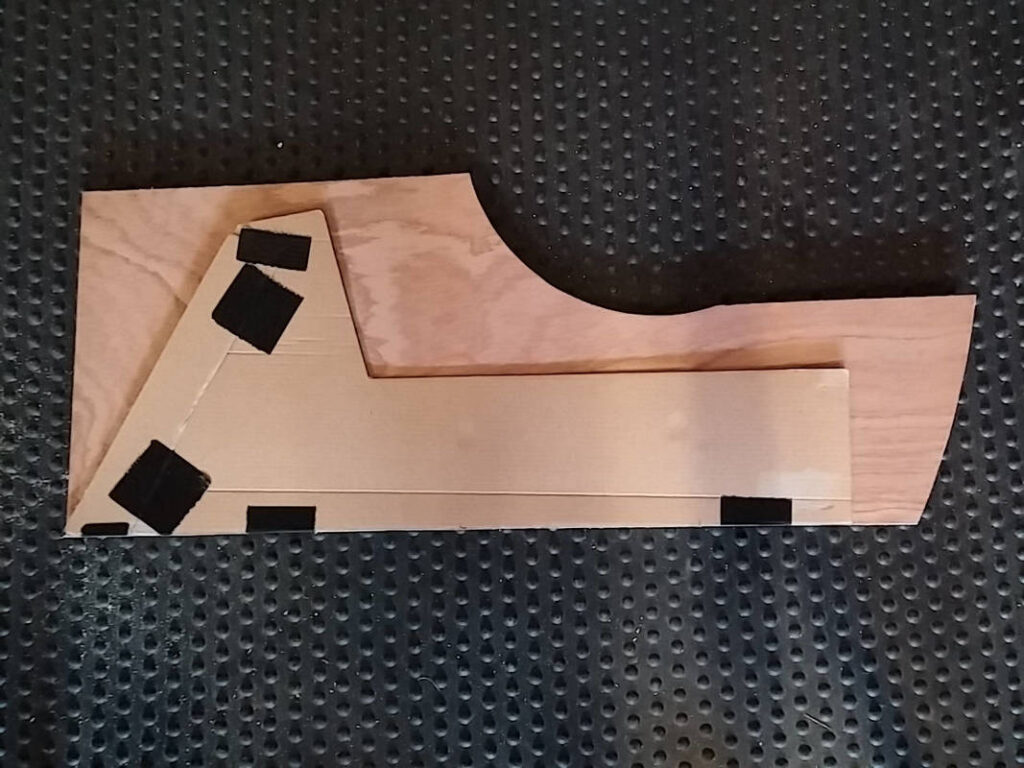
Before going near any wood, I scribed my entire boot and made a cardboard boot liner.
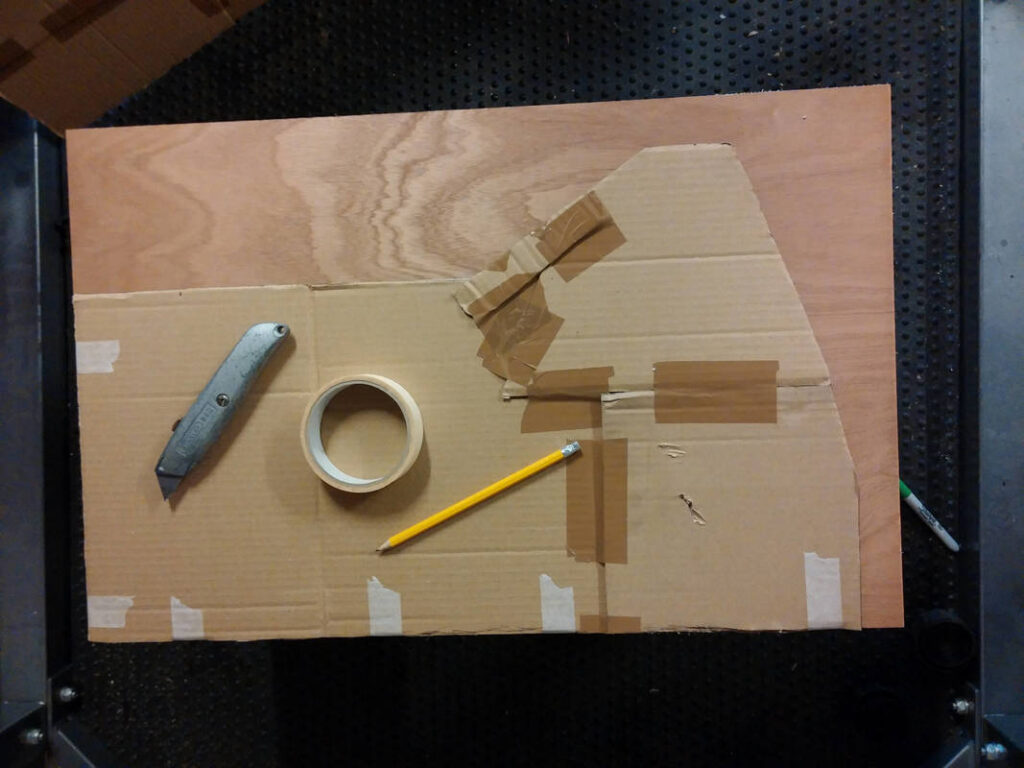
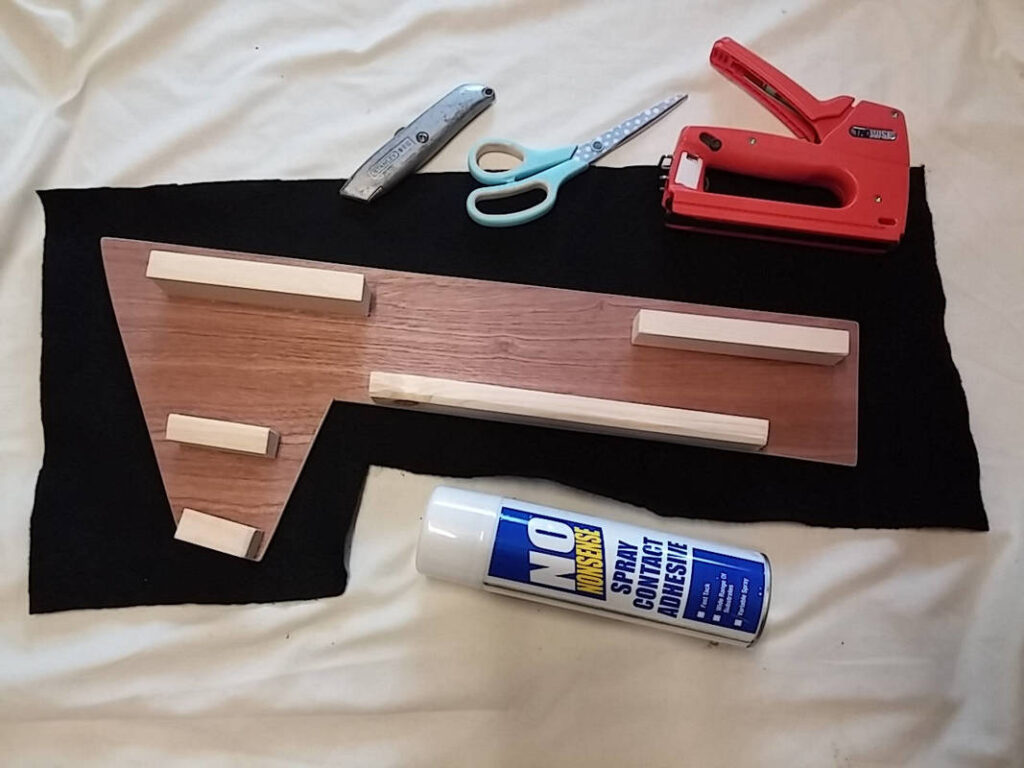
A template for the amplifier cabinet was made from my cardboard boot liner. The template was then double-checked against the boot for a snug fit before transferring to 9mm plywood. This was cut out with a jigsaw and fine tuned with a combination of block plane, chisel and 120 grit sandpaper.
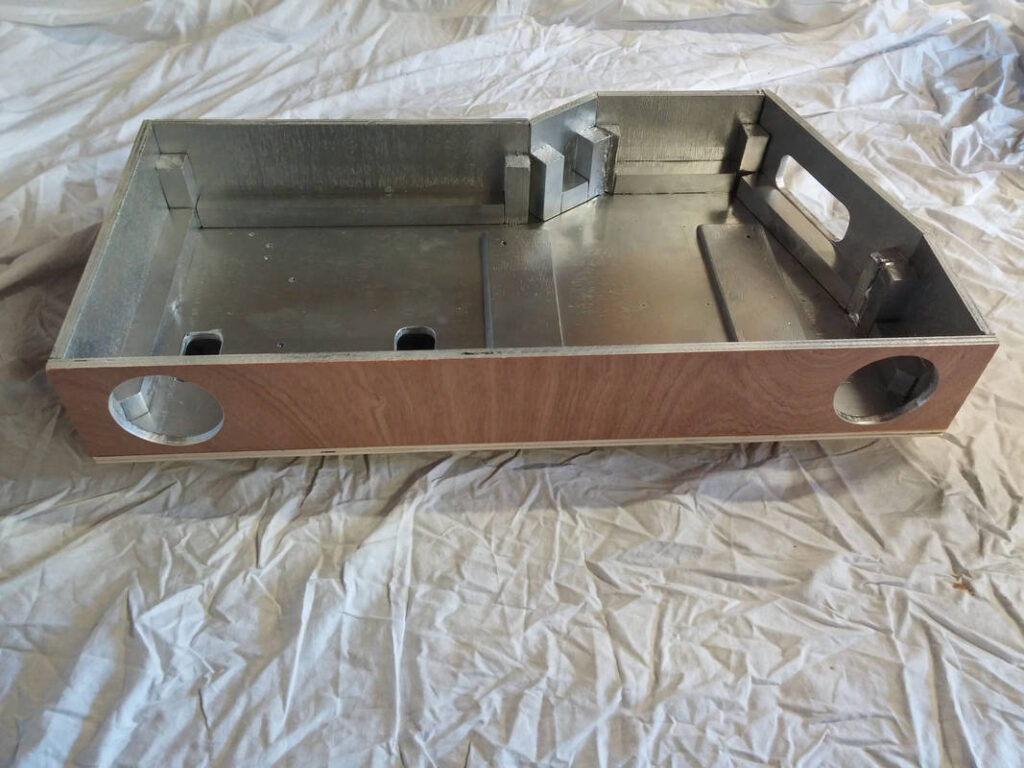
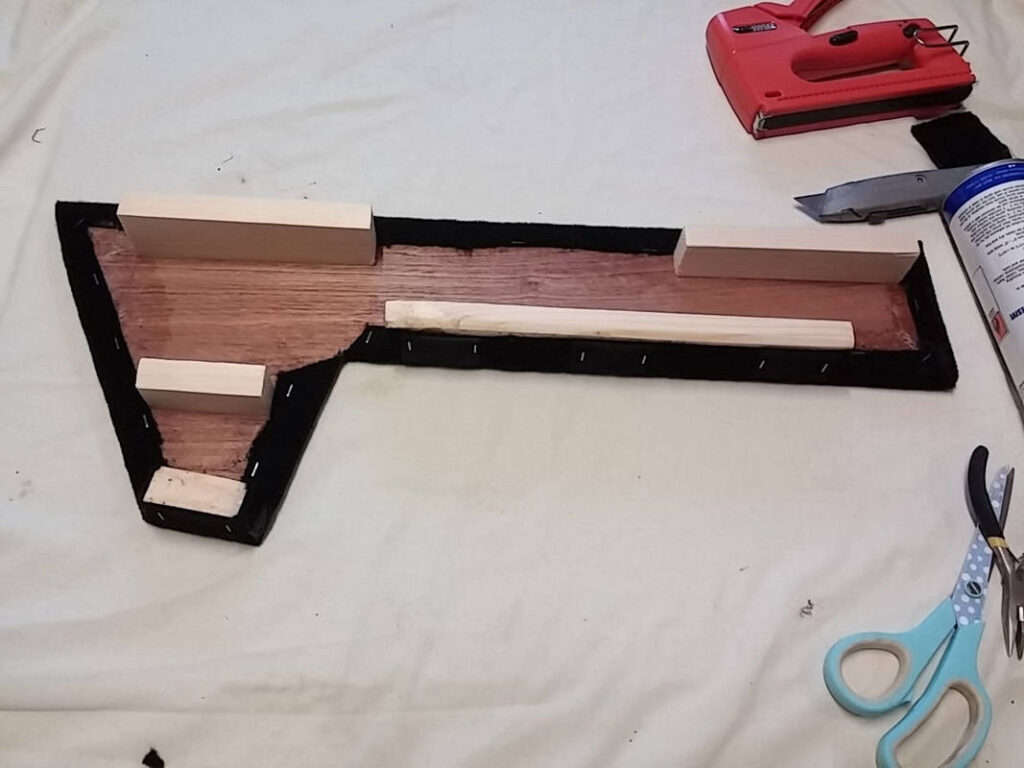
The finished cabinet ready to carpet. The round holes in the longest side are for two 80mm fans; these are in push-pull configuratrion to ensure adequate airflow. The holes in the bottom are for power, ignition and speaker connections and the hole at the back is for line level inputs. The inside was sprayed silver to help reflect the light from the LED strips. The cabinet is raised up on 20 x 38mm batten to allow for cable routing and so it can be scribed to the boot floor so it sits flat. It’s not the prettiest box inside but it is quite light and strong.
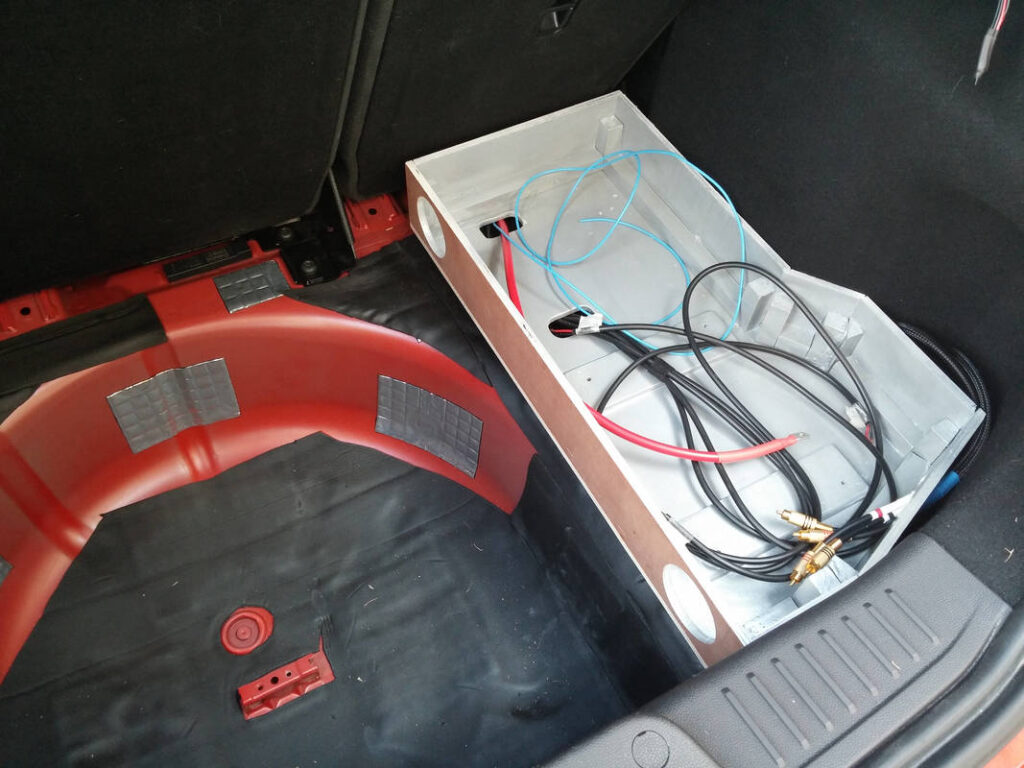
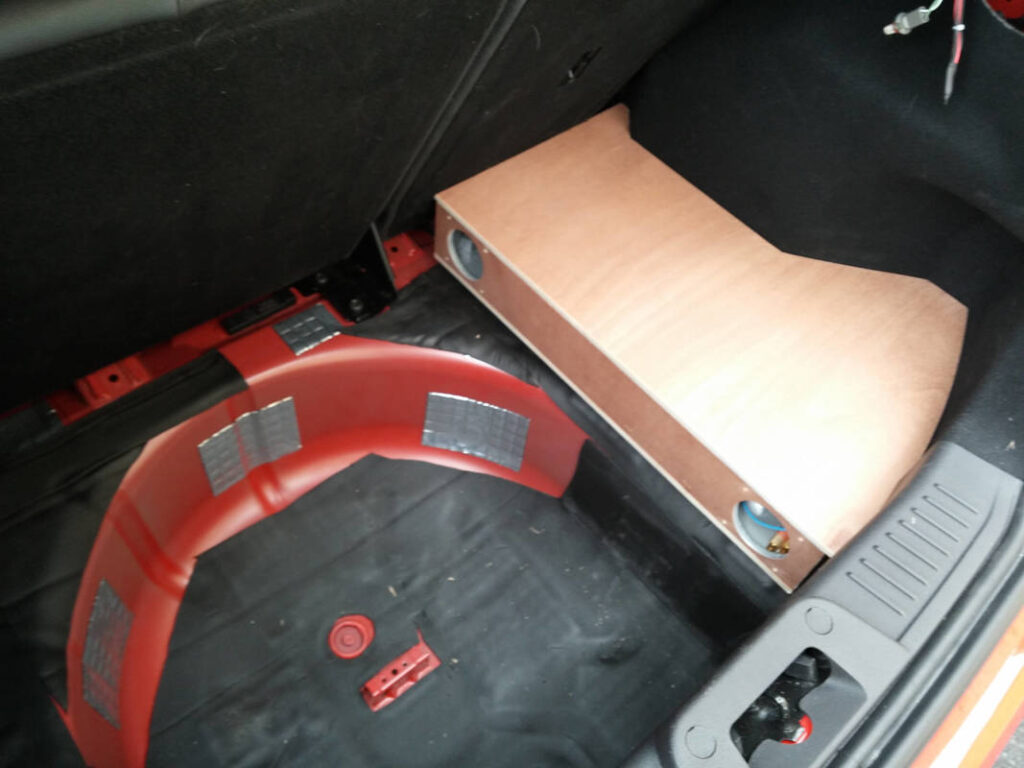
A test fit after primer coat to ensure the wires are all long enough; what a relief.
With the cabinet box complete, it was time to make the lid. The same tools and techniques were used to make this.
Final test fit to ensure everything’s right.
The window was then cut and holes drilled for the fixings. Battens were added to hold the lid in place- it’s a tight fit and can’t be taken off unless the seat is tilted slightly. The inside of the lid was painted and it was carpeted.
The finished amplifier cabinet with fans and perspex window fitted.
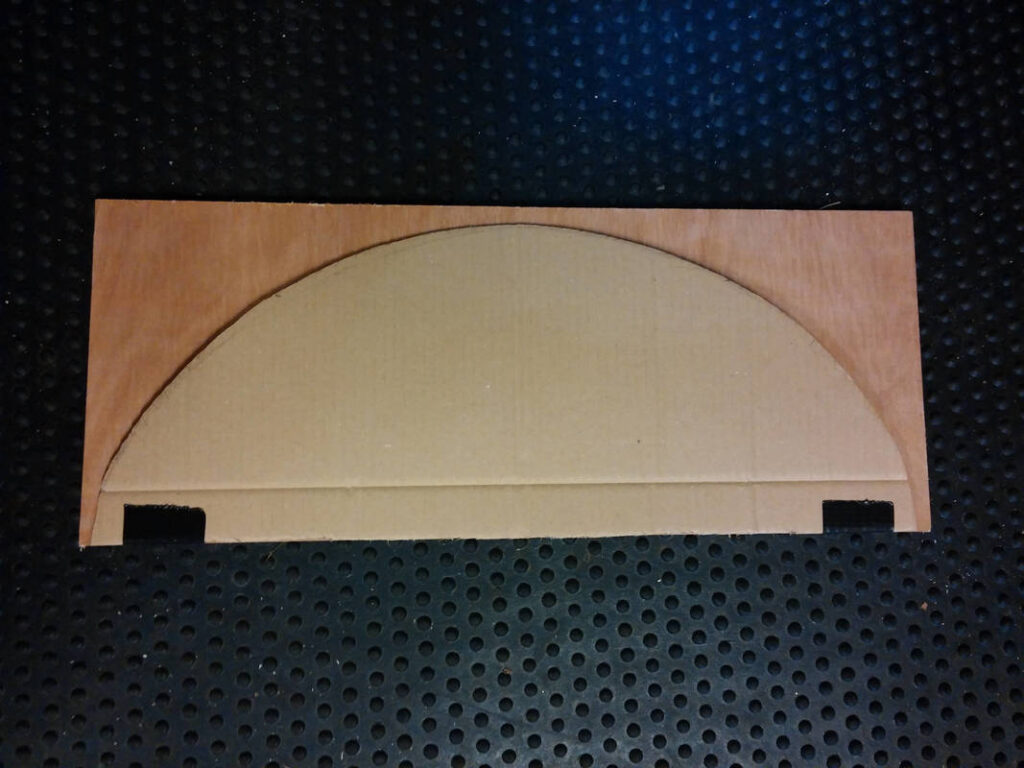
When the subwoofer enclosure was placed in the spare wheel well it was placed on skids of the same height as the spare wheel clamp nut. Securely wedging it in place by making a semicircular platform prevented longitudinal movement so it can’t rattle.
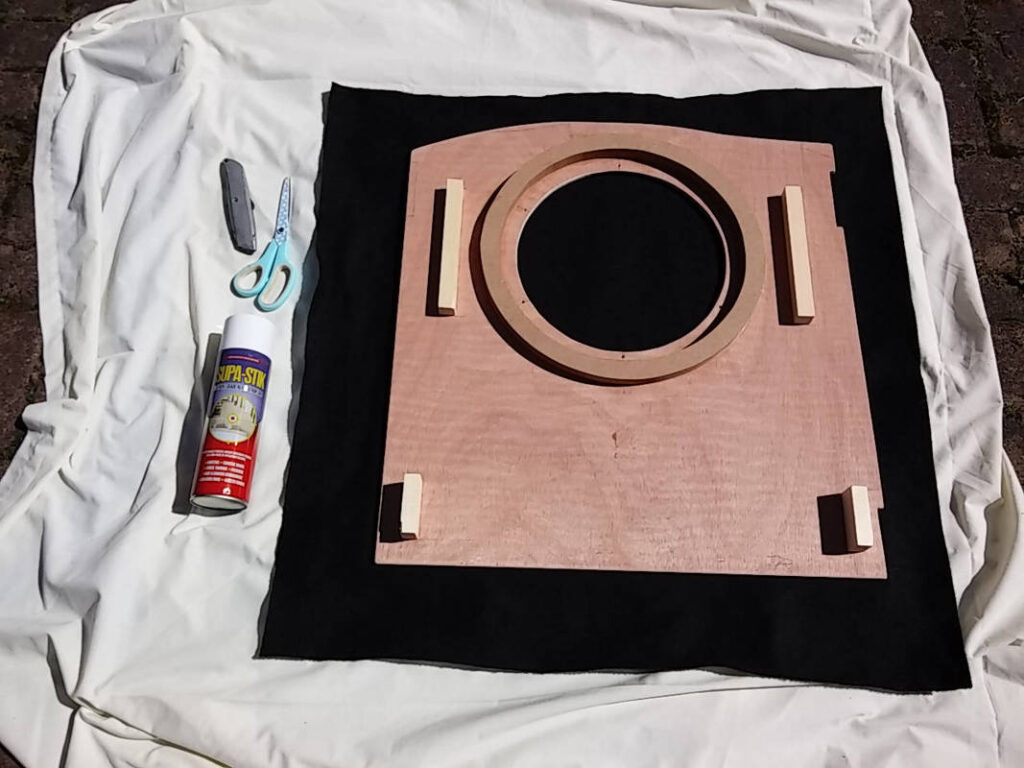
With the subwoofer wedged securely in place, the main boot false floor panel was constructed.
Test fitting the main boot false floor panel.
This MDF ring serves three purposes:
It sits on the subwoofer enclosure, providing support to the false floor
It provides a mounting point for the LED accent strip lighting
It forms a seal around the driver, focusing all of the air movement up and out of the floor. I don’t know if this actually makes a difference to the performance but I needed it anyway for the above two points.
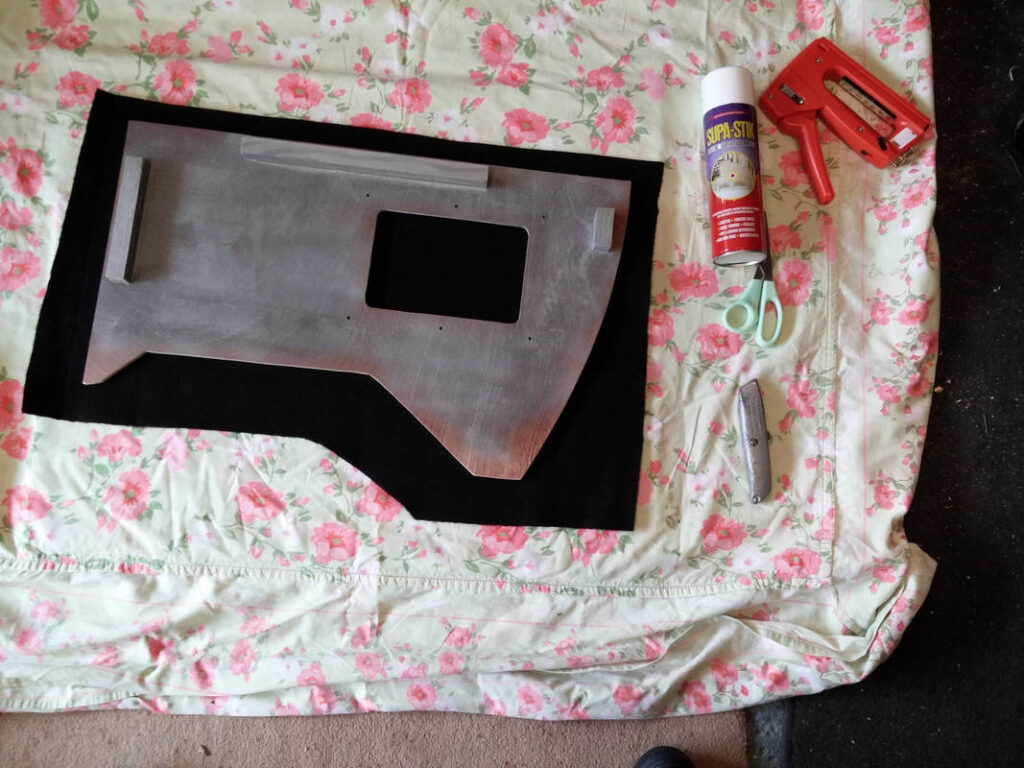
Here is the finished main boot false floor panel, about to be carpeted.
The last complex piece of the false floor was on the passenger side. This was the most time consuming part to scribe to the boot floor.
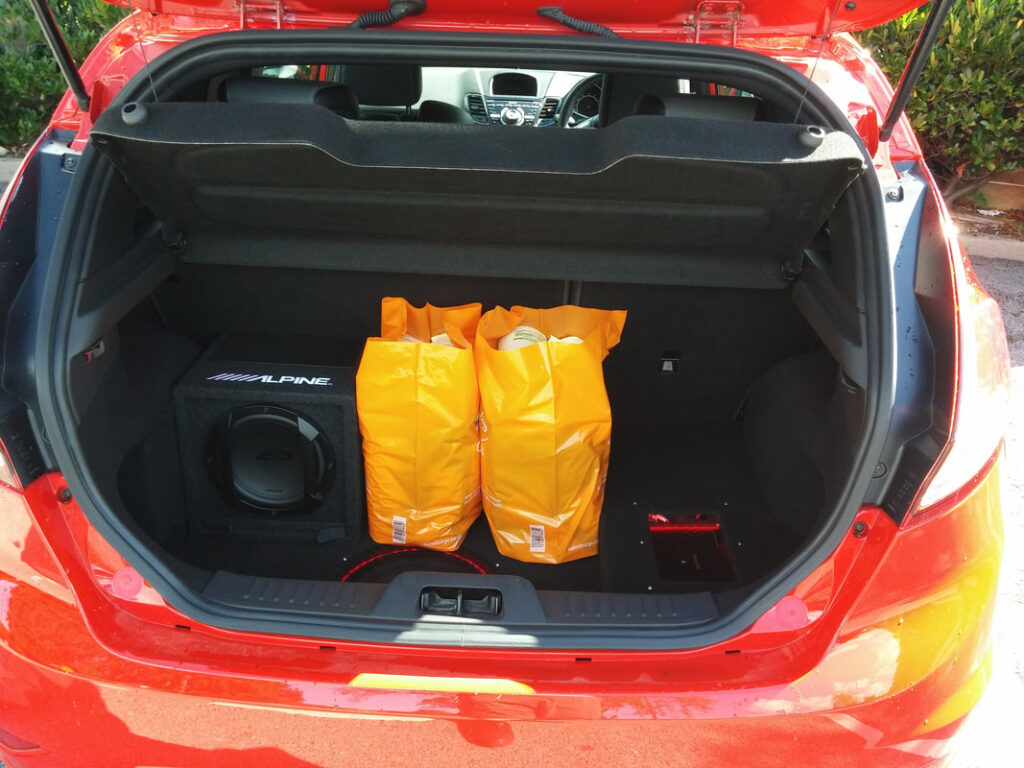
I am really happy with the way that the boot build turned out. The pictures above were taken around three months after I made my cardboard templates; this was definitely not a weekend project! The false floor and cabinet are more than capable of holding the small amount of luggage/shopping that I put in the boot, and I can easily remove the alpine active subwoofer for more space if required. The build really comes alive at night, where the accent lighting around the sub and amp complement the other lighting mods to really showcase the design.